In addition to Equipment there are various items and objects available within Missions, such as healing items, magical potions and potent explosives.
Consumables[ | ]
Consumables are single use items that can be found in every mission. Each of these types of consumables have their own storage slot, and only one of each type may be carried at a time. Some consumables can be given to an ally by holding the item and pressing Defend/Charge/Zoom (Default: Right Mouse Button) on the ally.
Healing[ | ]
Healing items are carried in the third equipment slot.
| Image | Item Name | Effect | In Use |
|---|---|---|---|
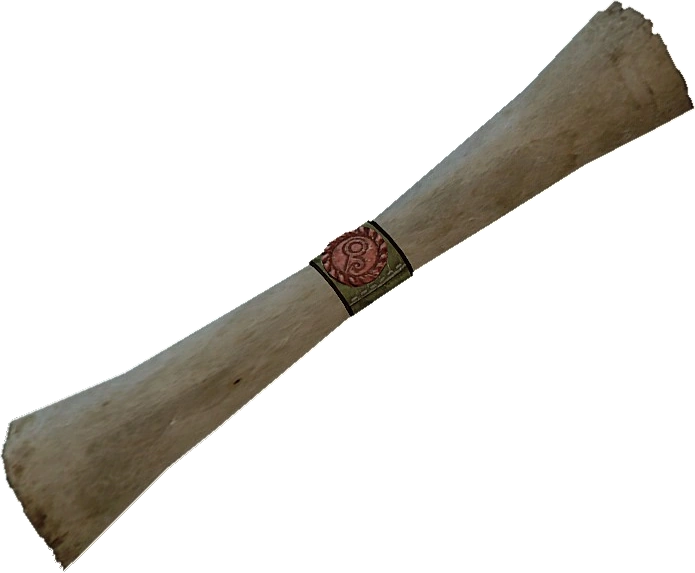
| Healing Draught | Can be consumed to heal 75 health. Replaces Temporary Health and clears all Wounds. | 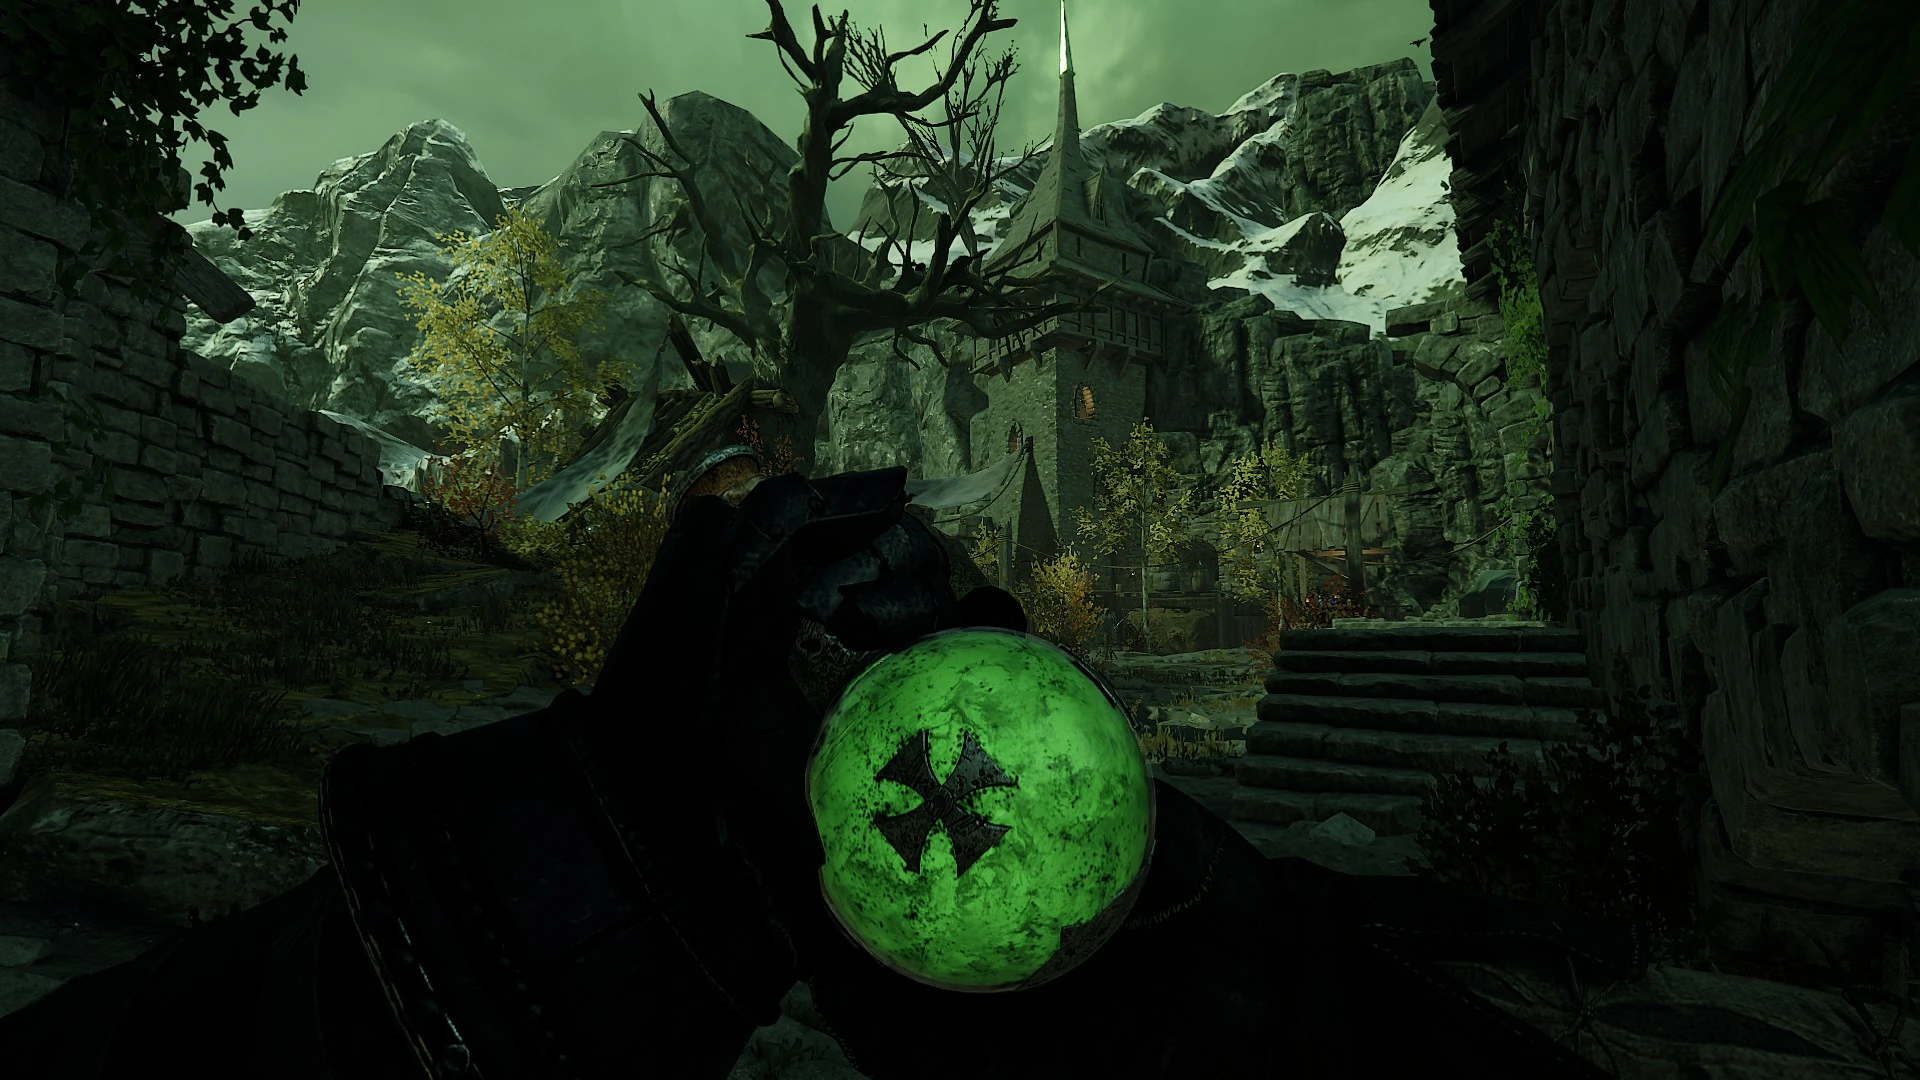 | |
 |
Medical Supplies | Can be consumed to heal 80% of a player's missing health. Replaces temporary health and clears all wounds. Can be used on allies. Healing an ally will also clear your own wounds. | 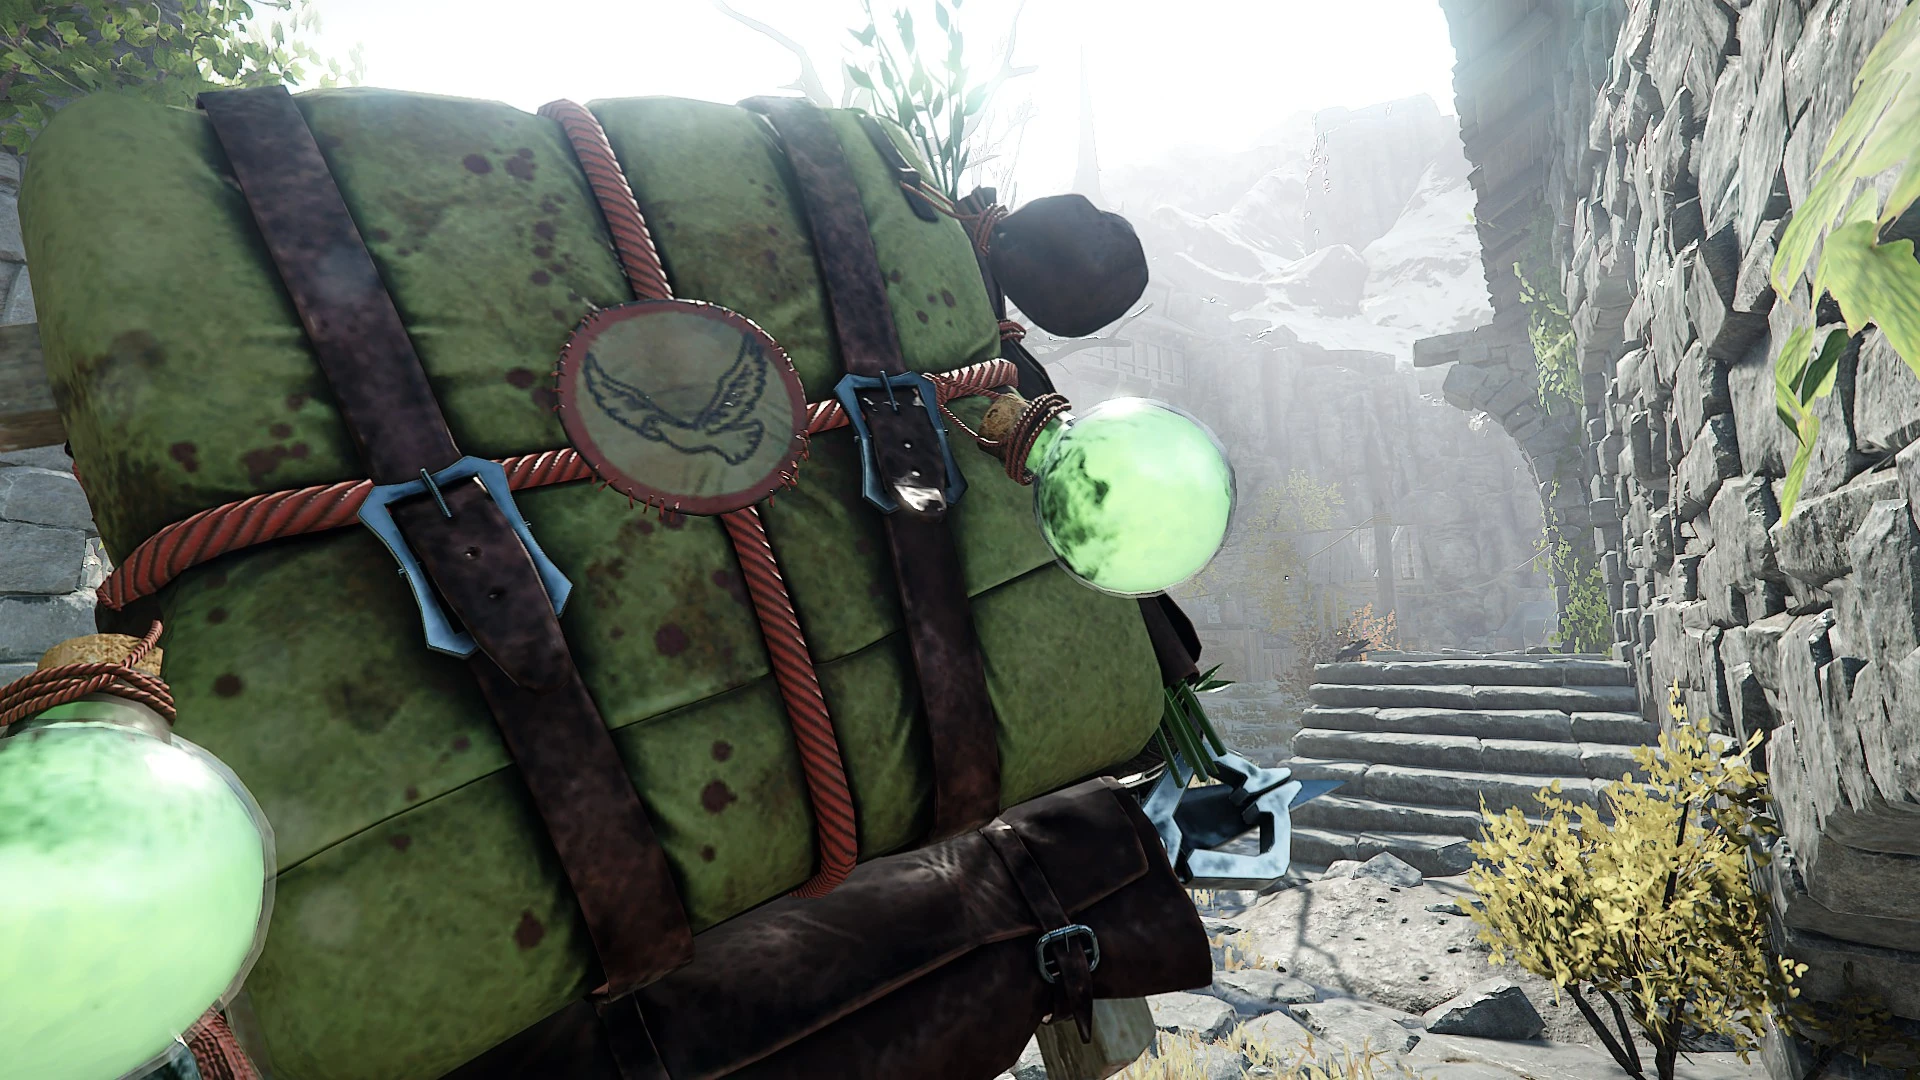 |
Potions[ | ]
Potions are carried in the fourth equipment slot.
| Image | Item Name | Effect | In Use |
|---|---|---|---|
| Potion of Concentration | Boosts Career Ability recharge rate for 10 seconds. | 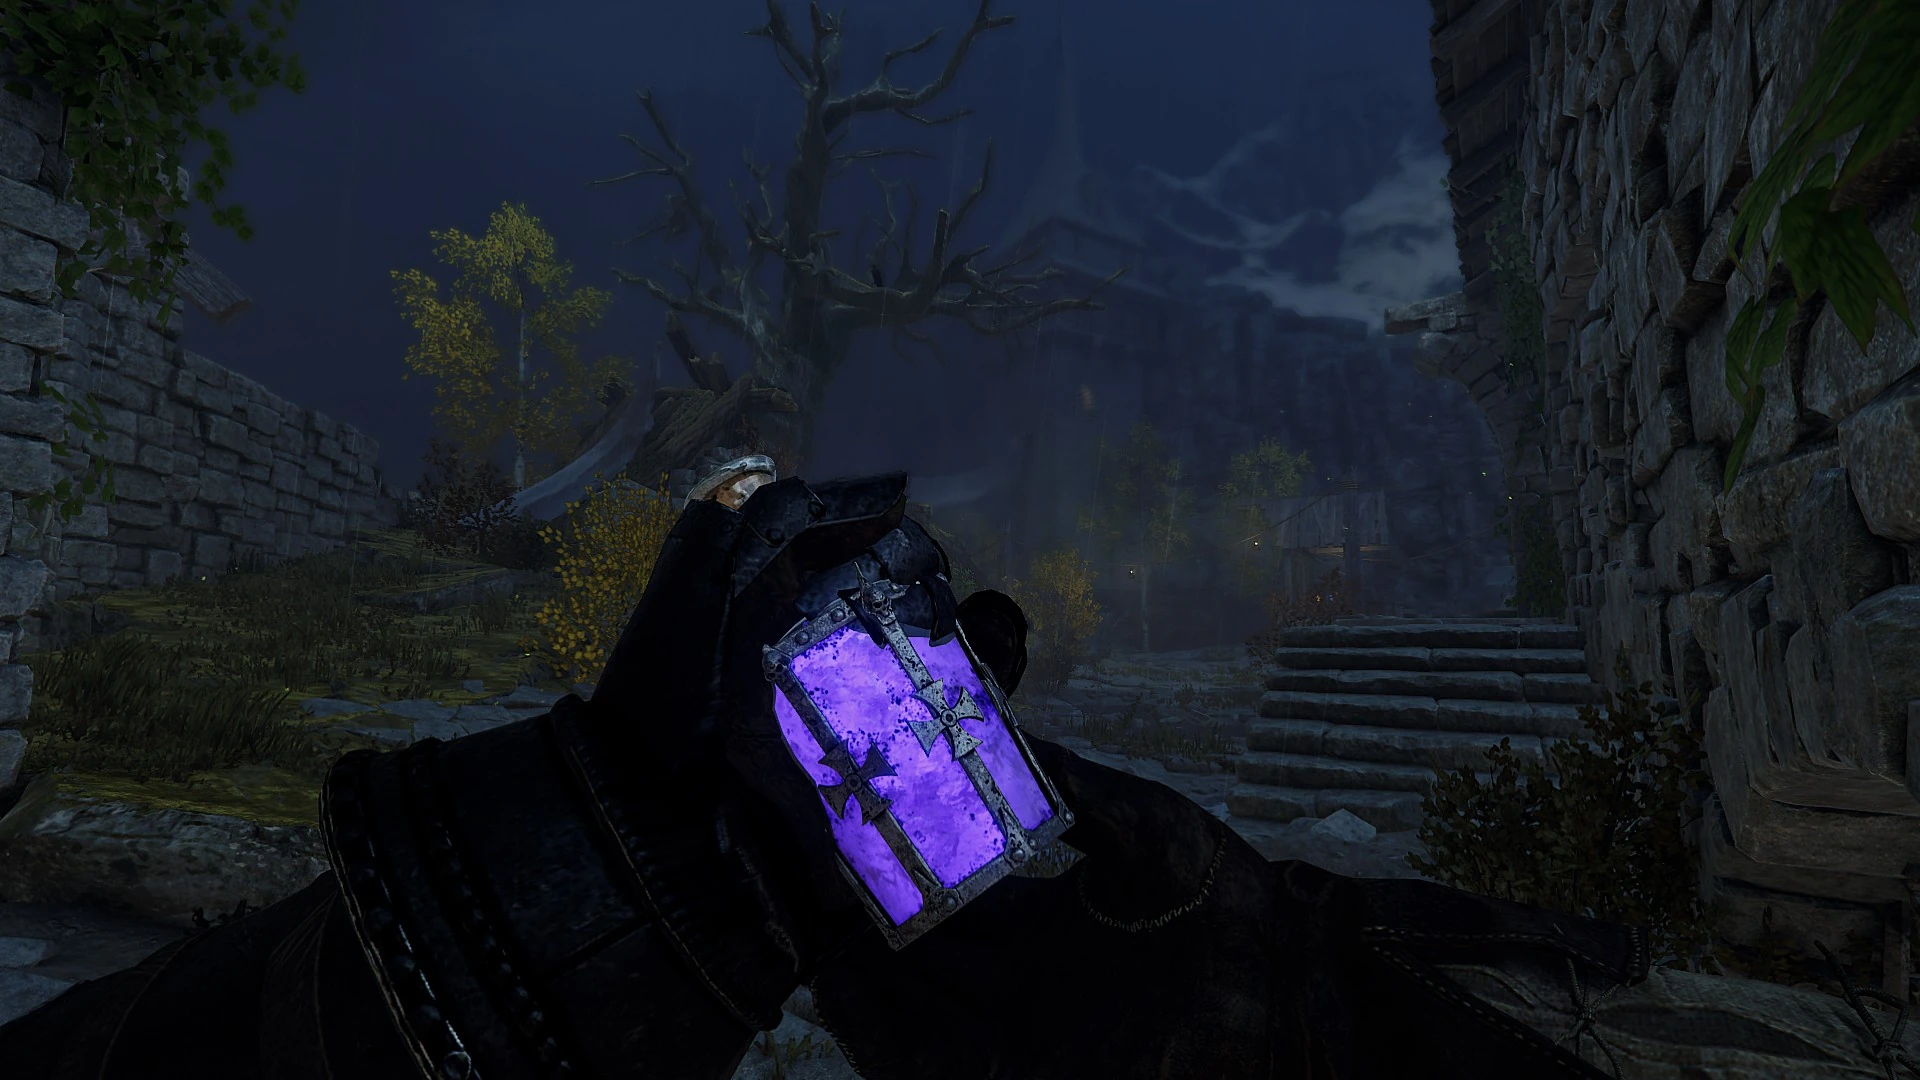 | |
| Potion of Speed | Boosts movement speed and attack speed for 10 seconds. | 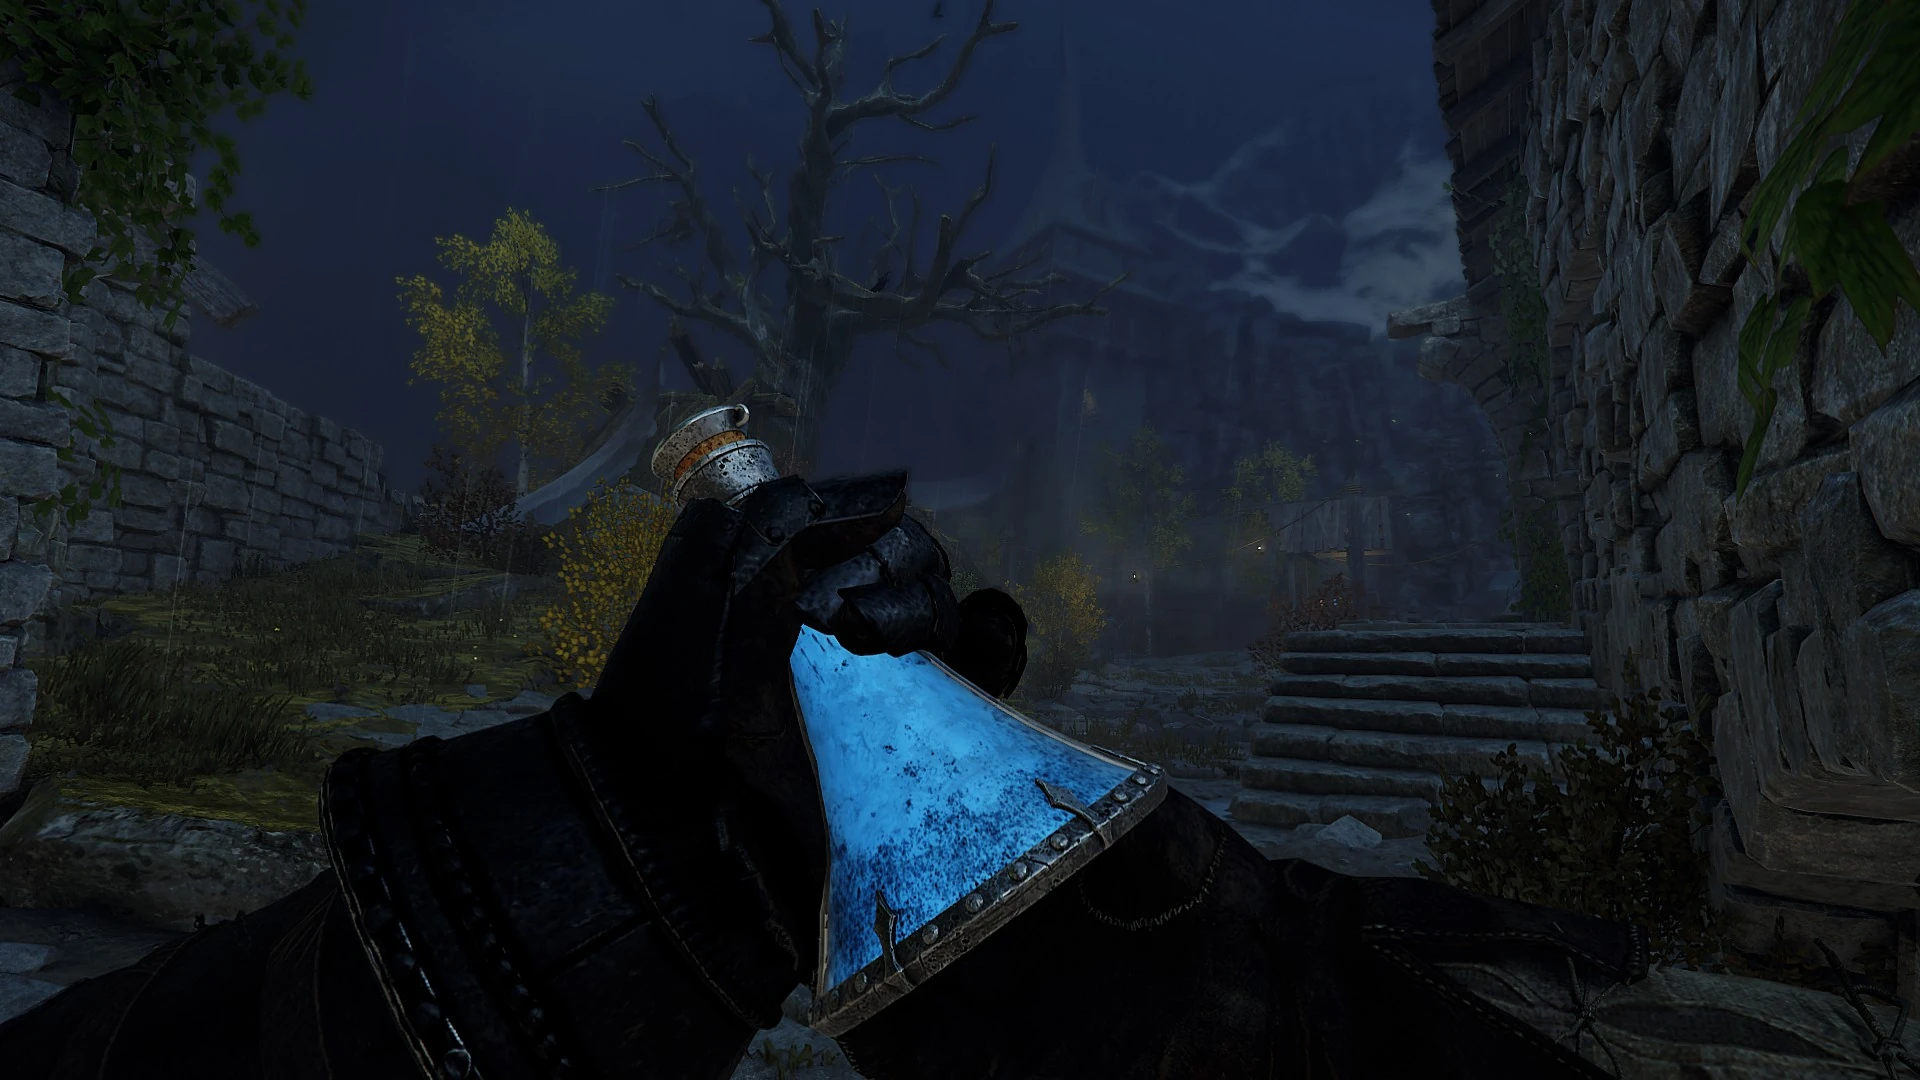 | |
| Potion of Strength | Boosts Power for 10 seconds. | 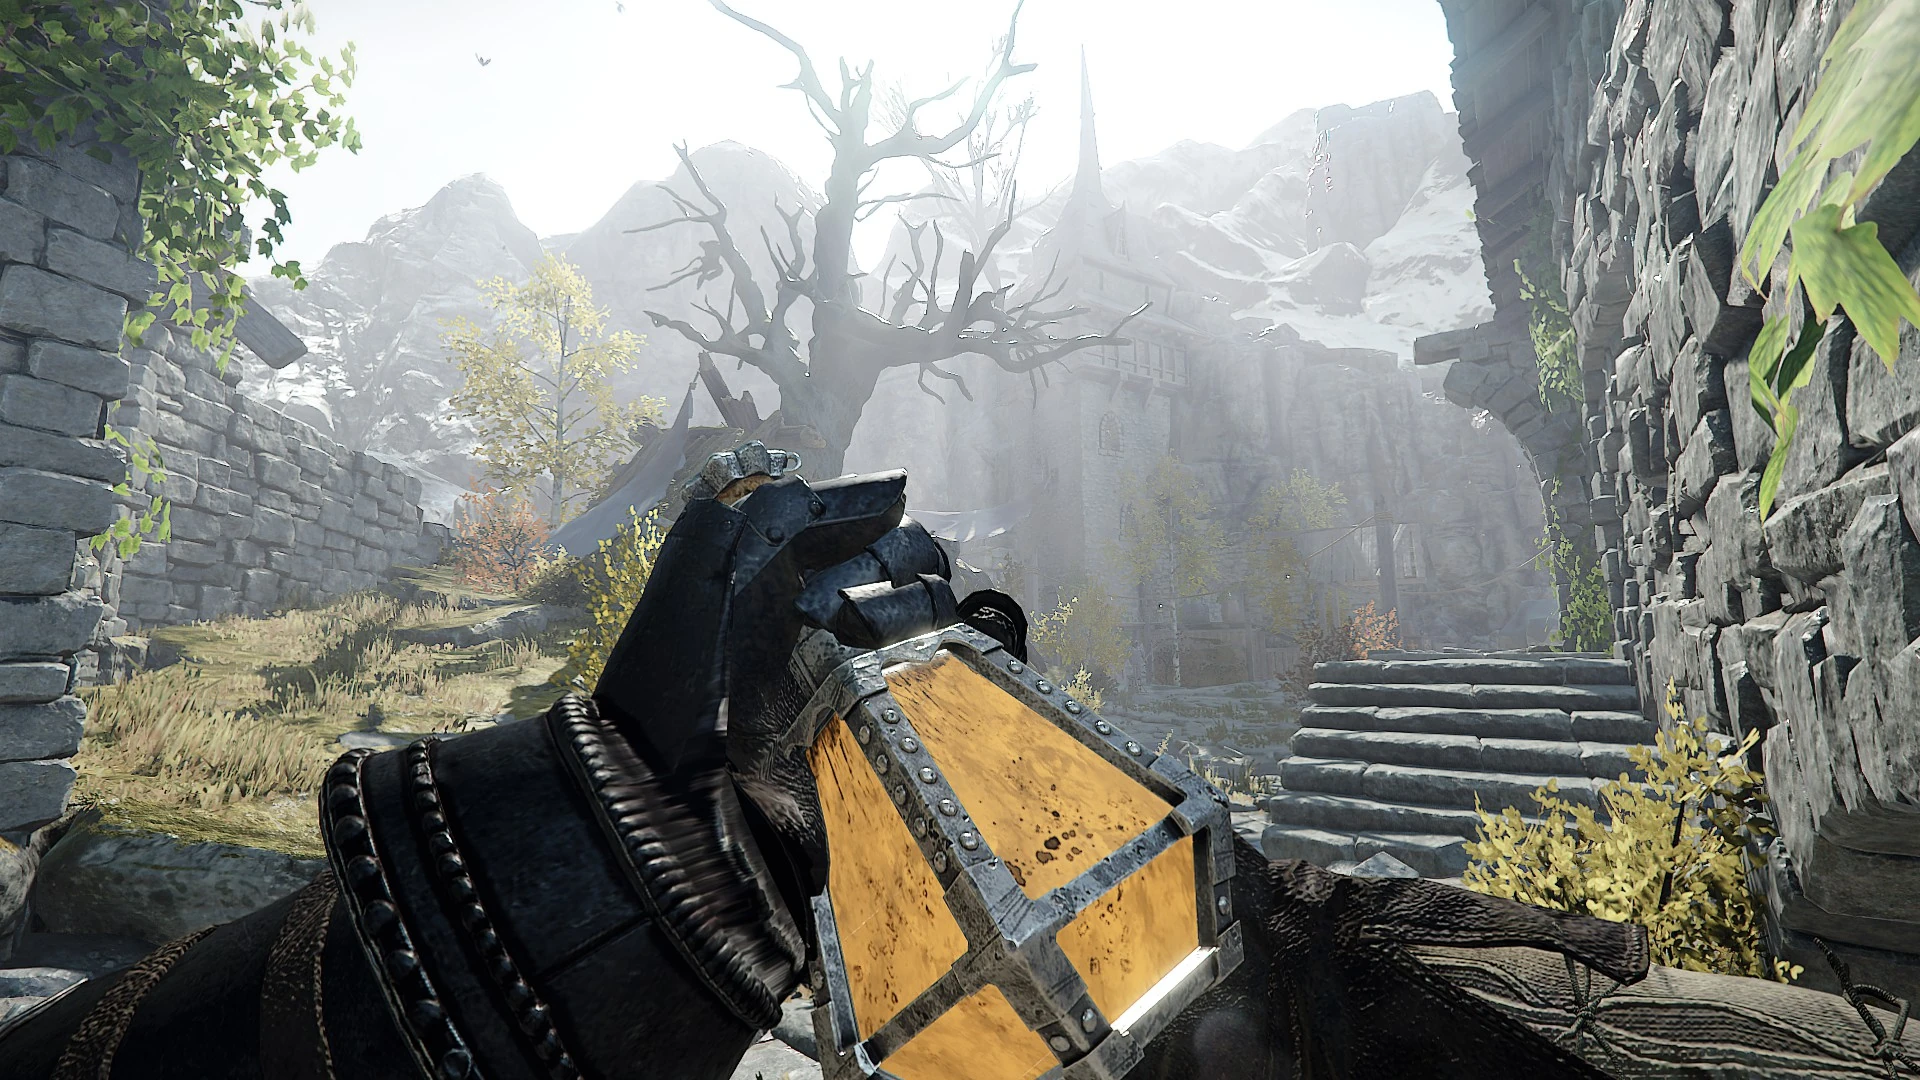 |
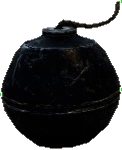
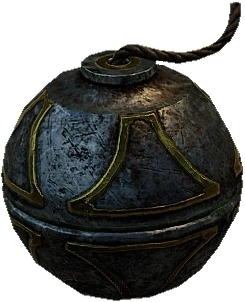
Bombs[ | ]
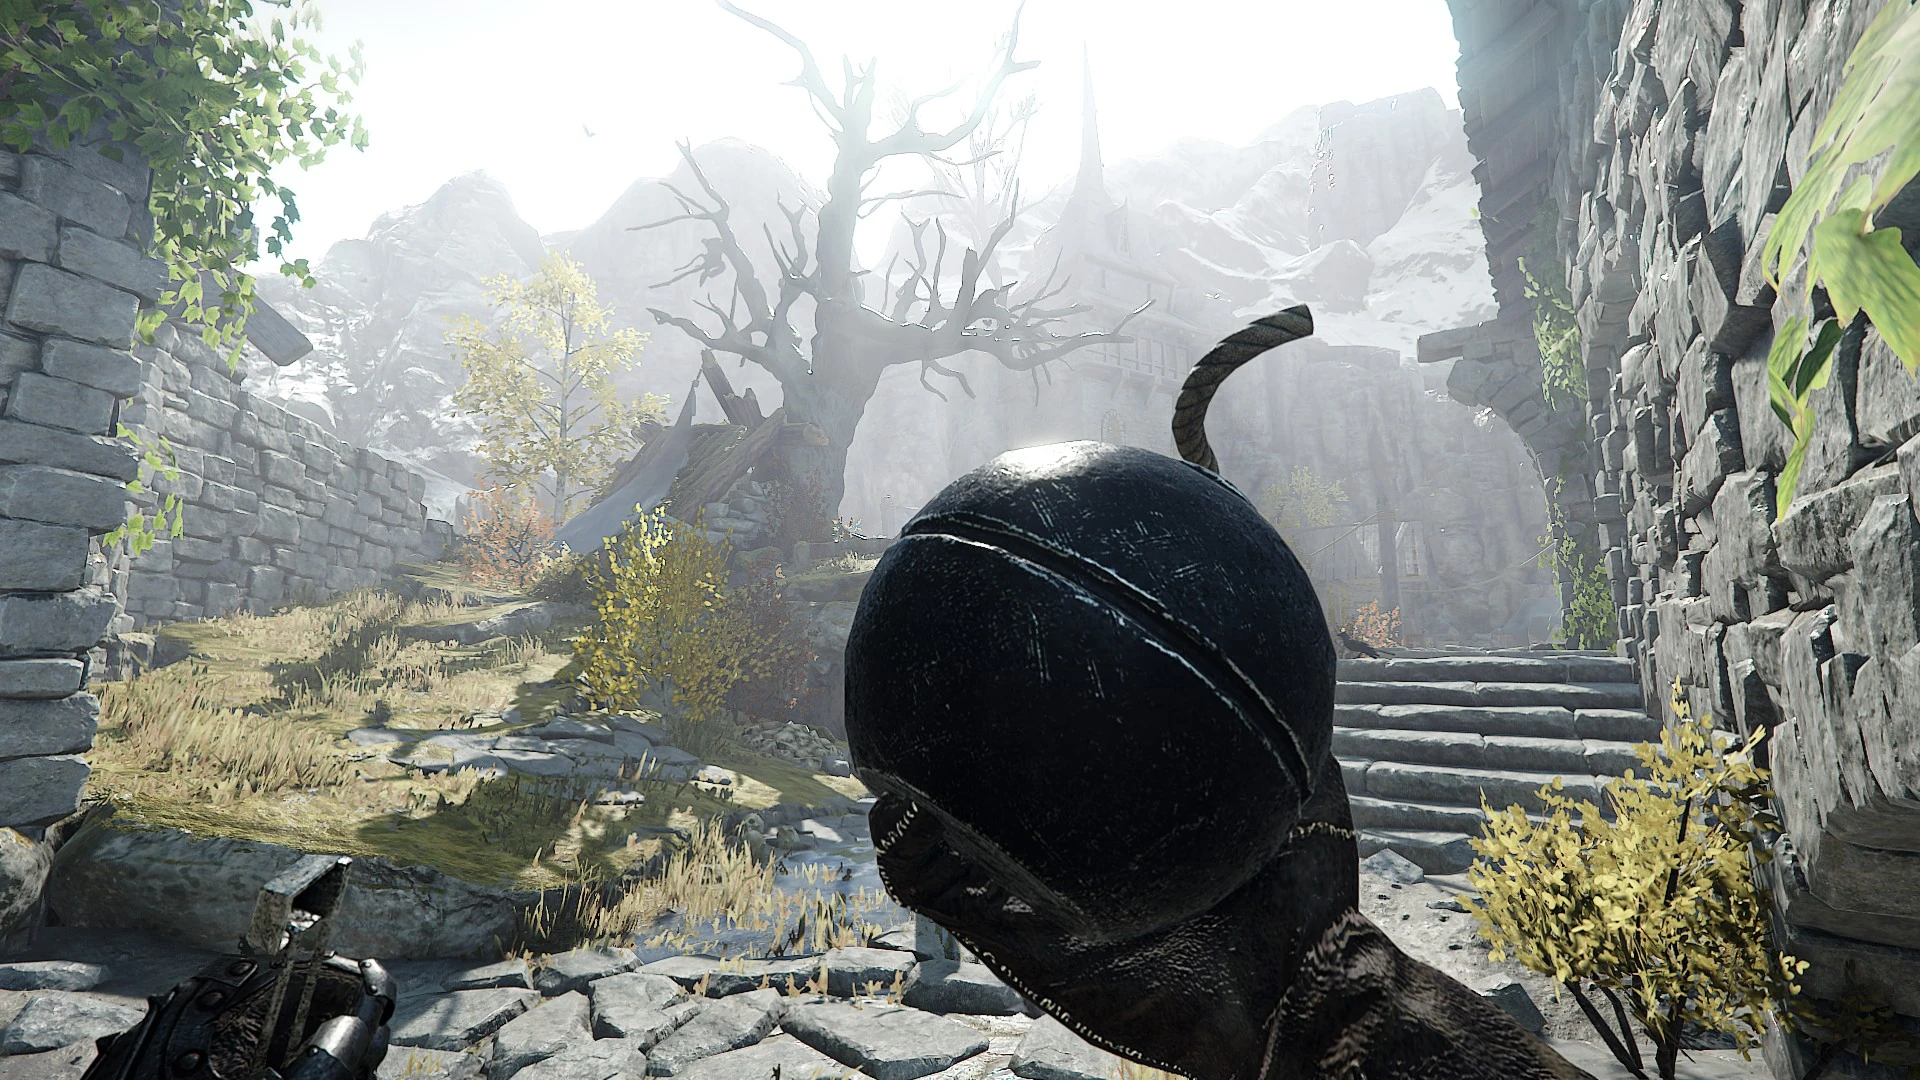
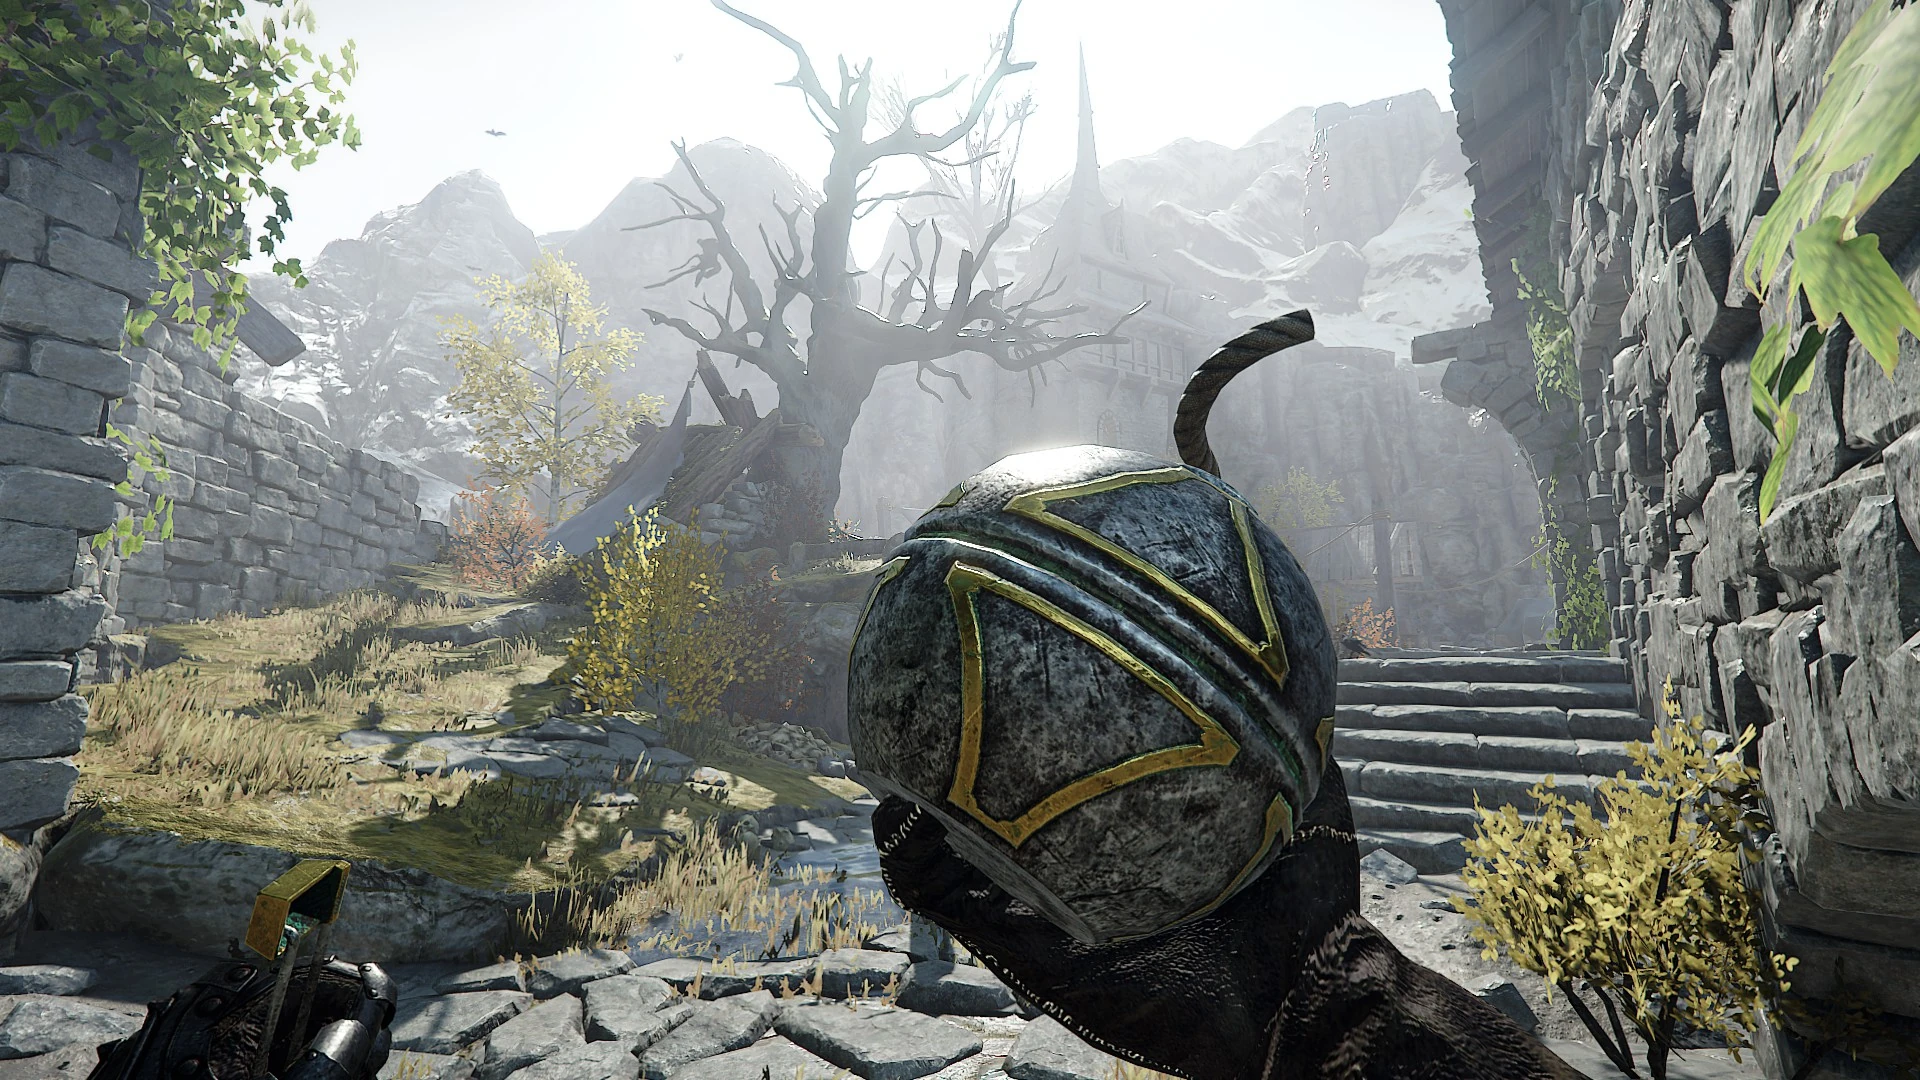
Bombs are carried in the fifth equipment slot. Pressing Attack (Default: Left Mouse Button) will light the fuse, and releasing Attack will throw the bomb. Pressing Defend/Charge/Zoom before throwing will snuff the fuse and store the bomb. There is no fuse timer: the bomb will not explode before the player throws the bomb, and it will not explode more quickly based on how long it has been lit.
| Image 1 | Image 2 | Item Name | Effect | In Use | Variation |
|---|---|---|---|---|---|
 |
 |
Bomb | Deals Stagger and armour-piercing damage to all Enemies in an area where it lands.
Enemies can Block the explosion with shields. Explosion deals friendly fire at applicable Difficulties. |
 |
 |
 |
 |
Incendiary Bomb | Deals stagger and minor damage to all enemies in an area where it lands. Creates a large area of fire that deals damage over time.
Enemies can block the explosion with shields, but cannot block the fire damage. Enemies will attempt to path around the fire. Explosion deals friendly fire at applicable Difficulties. The fire does not deal friendly fire damage. |
 |
 |
Notes[ | ]
Medical Supplies are the only consumable that cannot be given to another player, but it can be used to heal them directly.
Collectibles[ | ]
Collectibles are items that grant bonus XP and Loot Bar progress at the end of the Mission, or contribute to the completion of Okri's Challenges. A list of all book locations can be found in the Book Locations page.
| Image | Item Name | Effect/Use | In Use |
|---|---|---|---|
 |
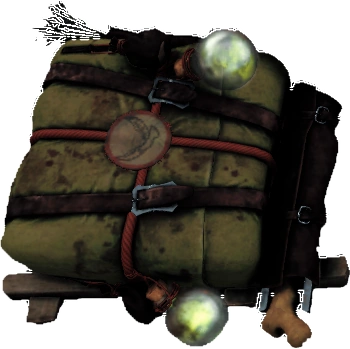
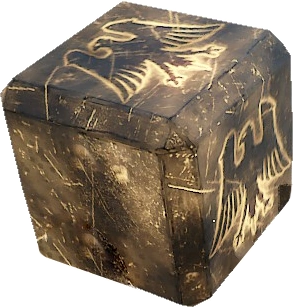
Tome | Grants 50 points to Loot Bar and additional XP to all players when the party reaches the end of the mission with it.
Occupies the healing slot. Can be freely swapped with a healing item. Each Adventure Mission contains 3 Tomes. |
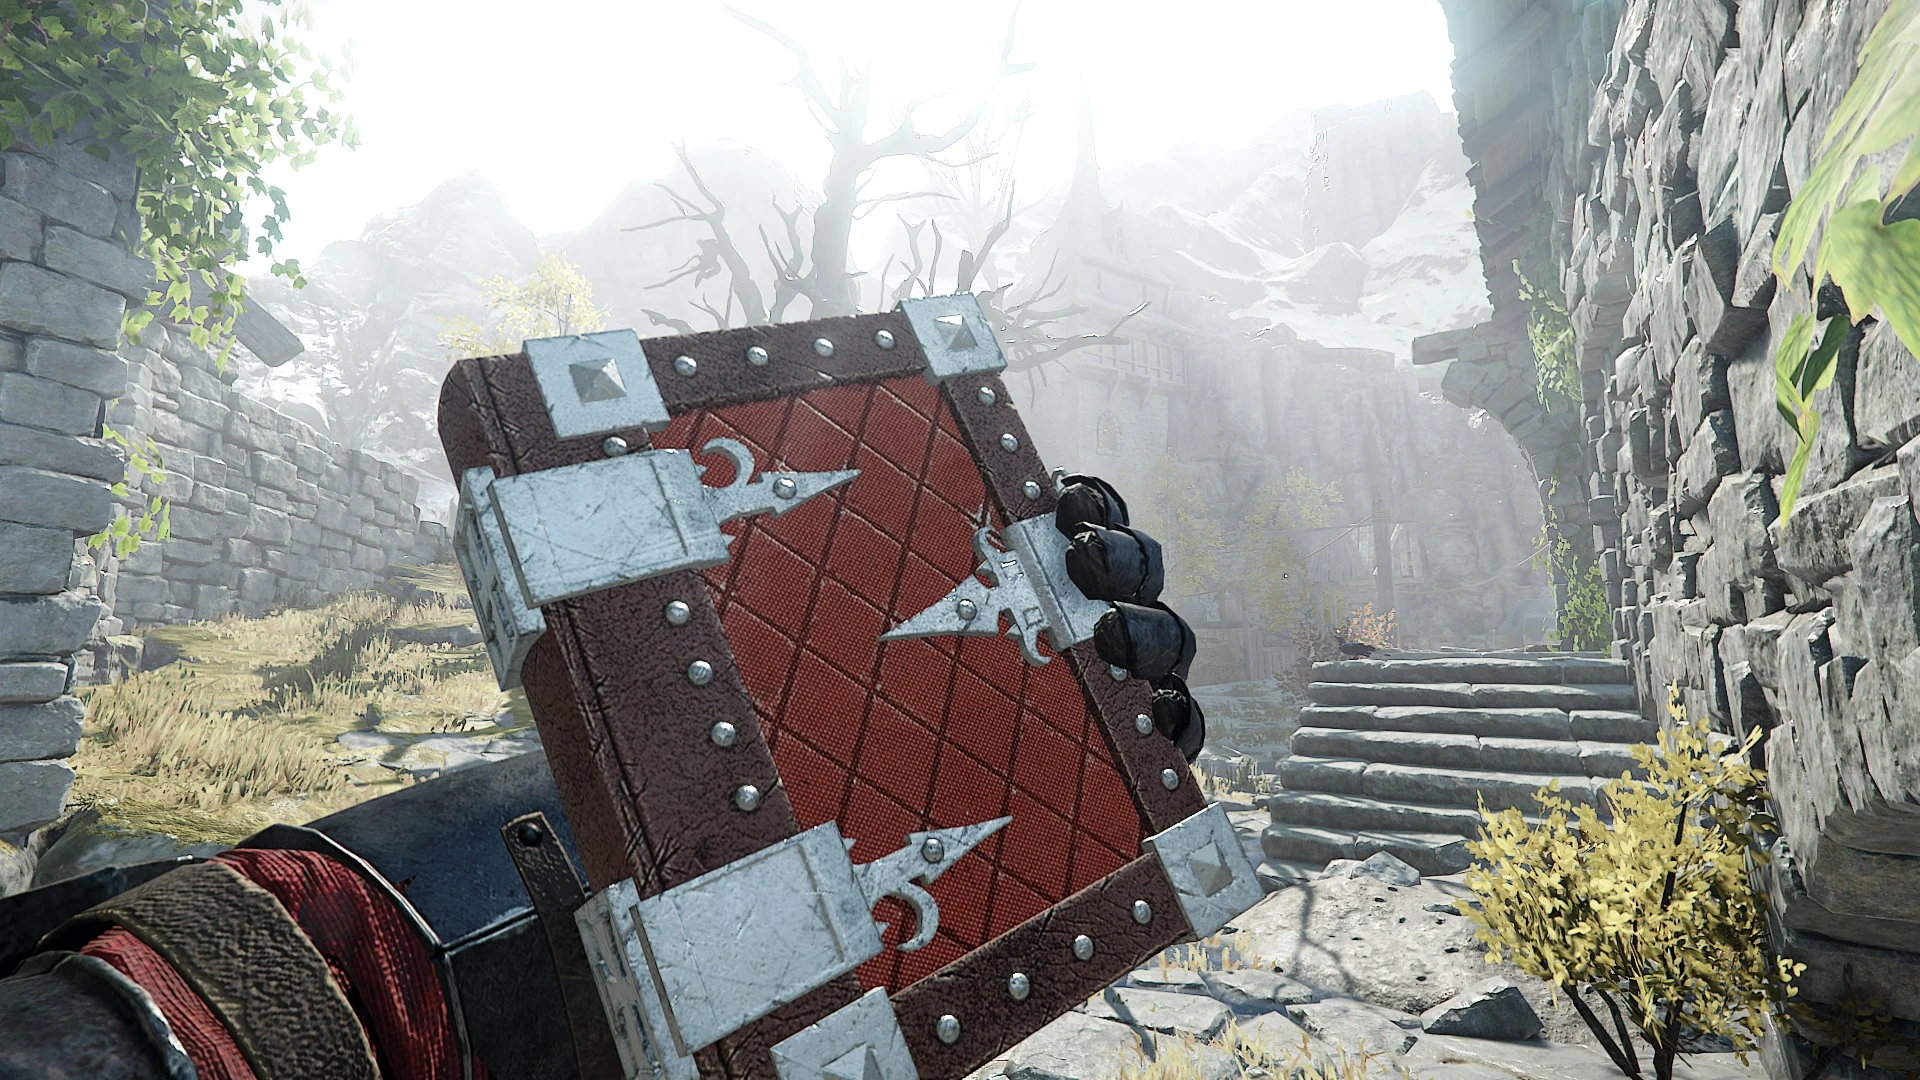 |
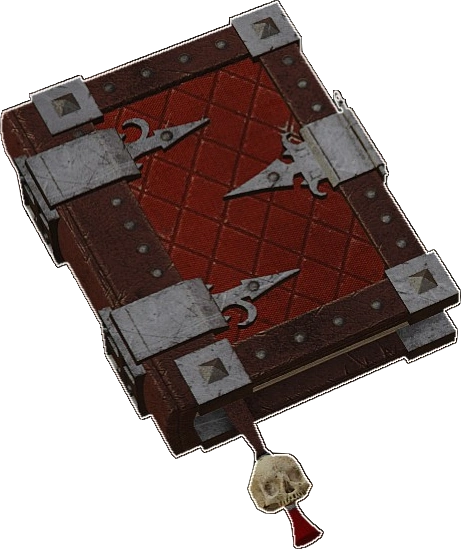
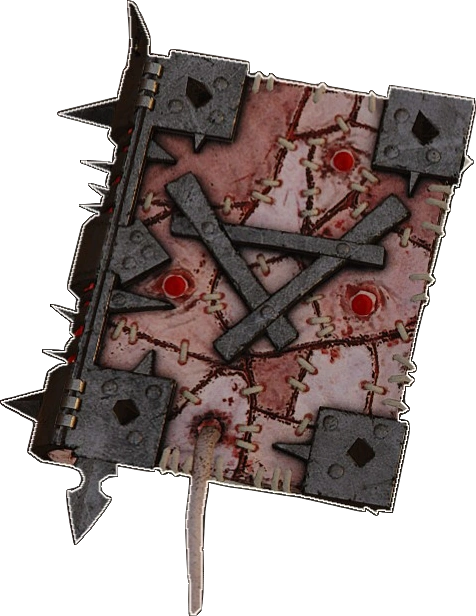 |
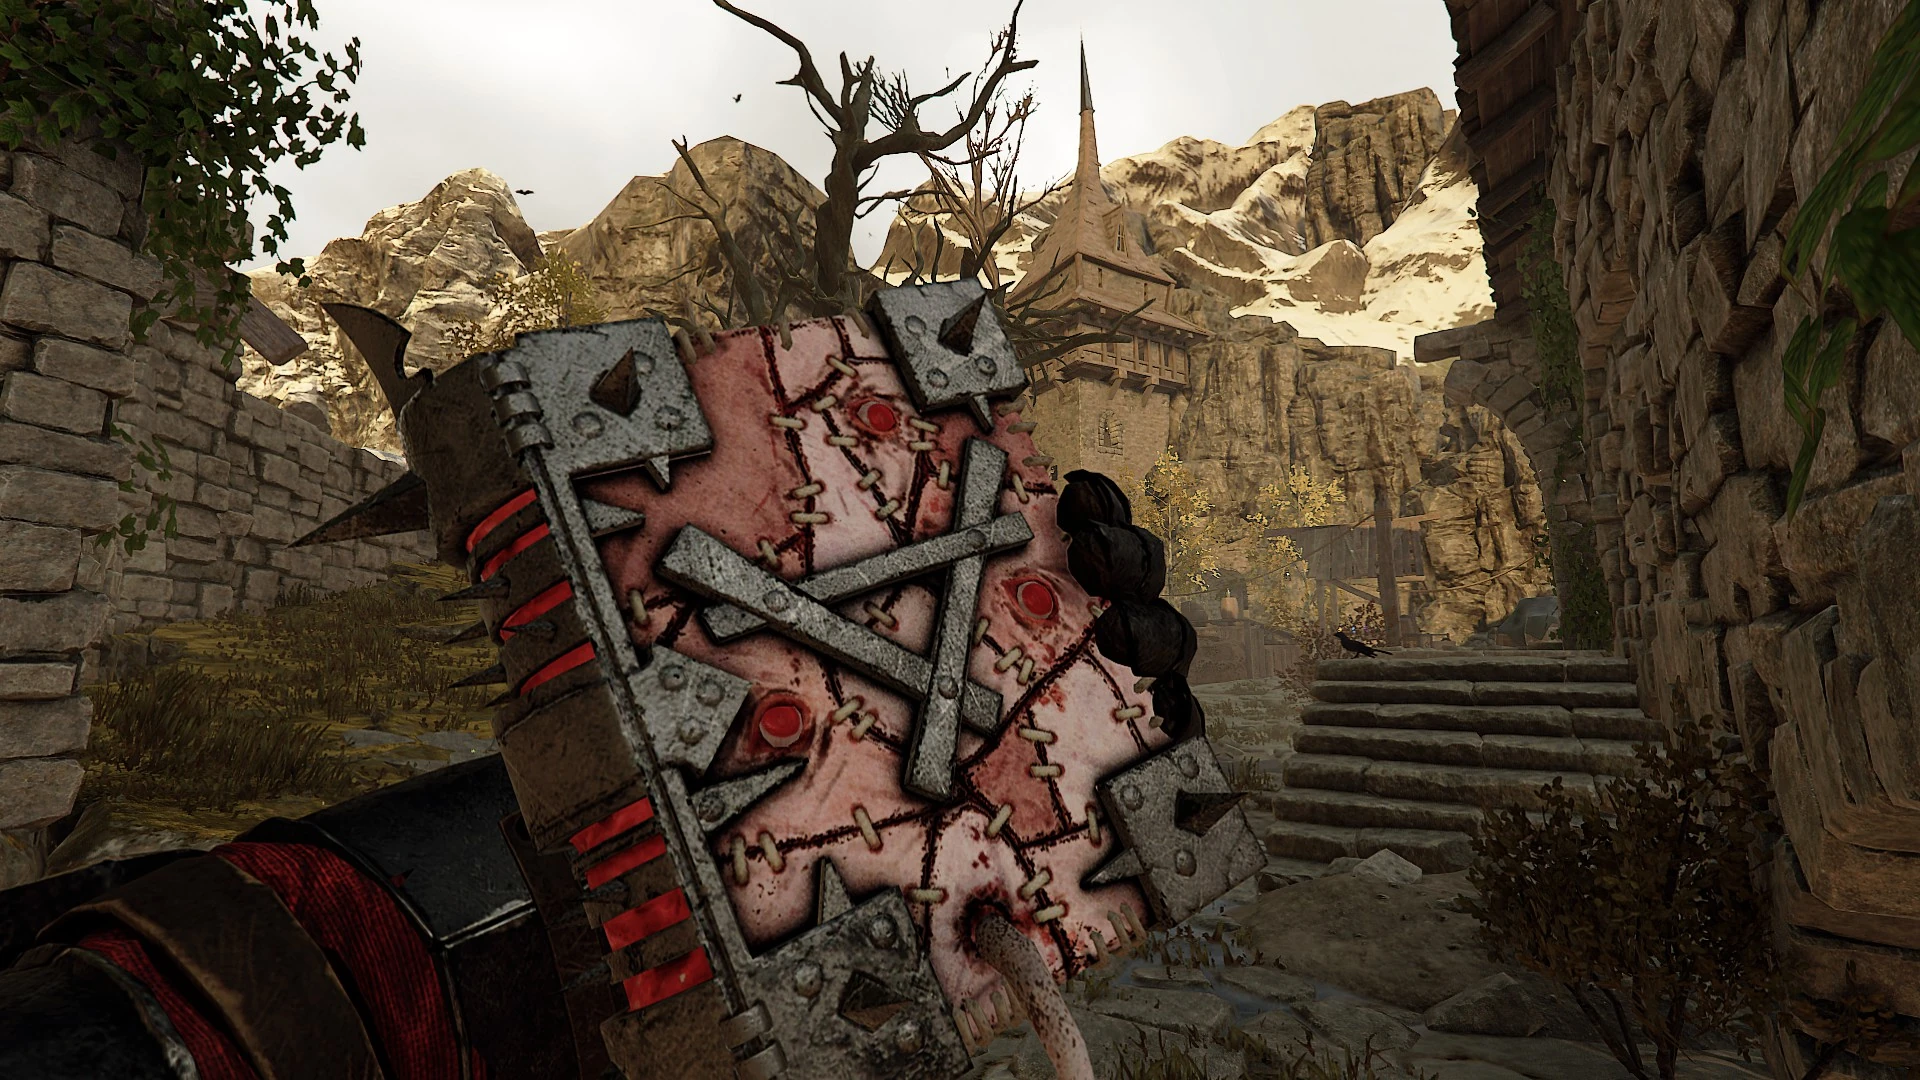
Grimoire | Grants 75 points to Loot Bar and additional XP to all players when the party reaches the end of the mission with it. Applies a Curse to all members of the party.
Occupies the potion slot. Cannot be swapped once it has been picked up. Each adventure mission contains 2 Grimoires. Can be destroyed by selecting the Grimoire and holding Defend/Charge/Zoom and Attack or if the player carrying it dies. Destroying the Grimoire also removes the curse from the party. Cannot be recovered. |
 |
 |
Loot Die | Grants 25 points to Loot Bar and additional XP to all players when the party reaches the end of the mission.
Guaranteed drop from Monsters and Lords. Can also be dropped by Sack Rats or randomly found in containers. | |
 |
Ravaged Art | There are three Ravaged Art per Adventure Mission, each spawning in one of several possible locations.
Collecting Ravaged Art completes challenges that reward Paintings that the player can hang in their Keep. Unlike other bonus items, Ravaged Art must be picked up by individual players gain the reward. | |
| Poison Feast Chalice | Collectible required for completing Okri's Challenge, (Un)holy Grails | ||
| Ruggbroder '68 | Collectible required for completing Okri's Challenge, One More for the Road? | ||
 |
Torn Journal Entry | Collectible required for completing Okri's Challenge, The (Not So) Great Escape. | |
| Vintage Drachenfels | Collectible required for completing Okri's Challenge, A Fine Vintage. | ||
Usable Items[ | ]
Usable items are found spread out across each mission. They either contain supplies or function as objectives, obstacles or as part of a puzzle.
Ammunition[ | ]
Used to replenish various ranged weapons.
| Image | Item | Effect |
|---|---|---|
 |
Ammunition Crate | Restores ammunition to full. |
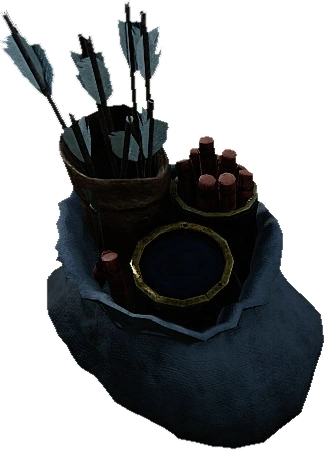 |
Ammunition Pouch | Restores ammunition to full. Consumed upon pickup. |
| Bardin's Survivalist Ammunition | Drops from Specials on death when a Ranger Veteran is in the party. Restores 10% of maximum ammo. Consumed on pickup. |
Containers[ | ]
Can contain various supplies to help complete the mission.
| Image | Item | Effect |
|---|---|---|
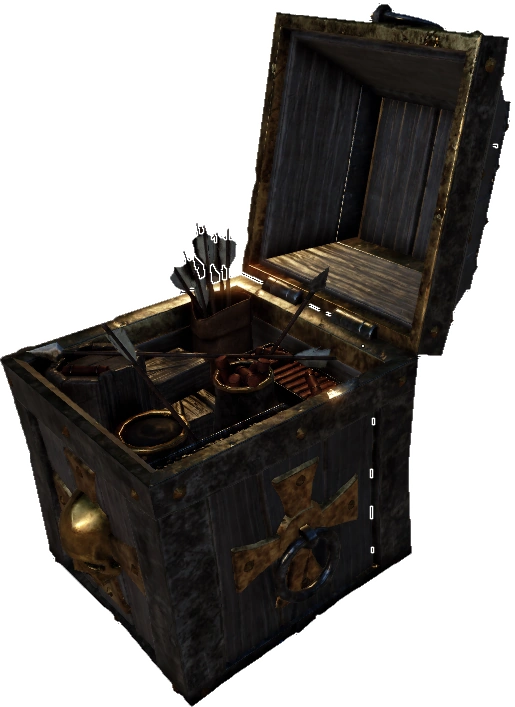
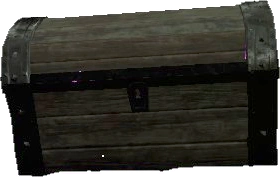 |
Chest | May contain a Consumable Item, Loot Die, or Ravaged Art. Its contents can be tagged without being opened with the exception of Loot Dice. |
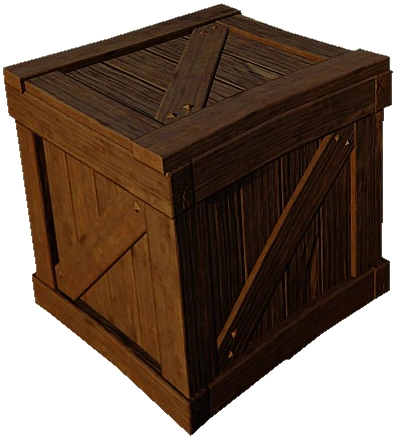 |
Crate | May contain a Consumable Item or Loot Die. Its contents can be tagged without being opened with the exception of Loot Dice. |
Explosives[ | ]
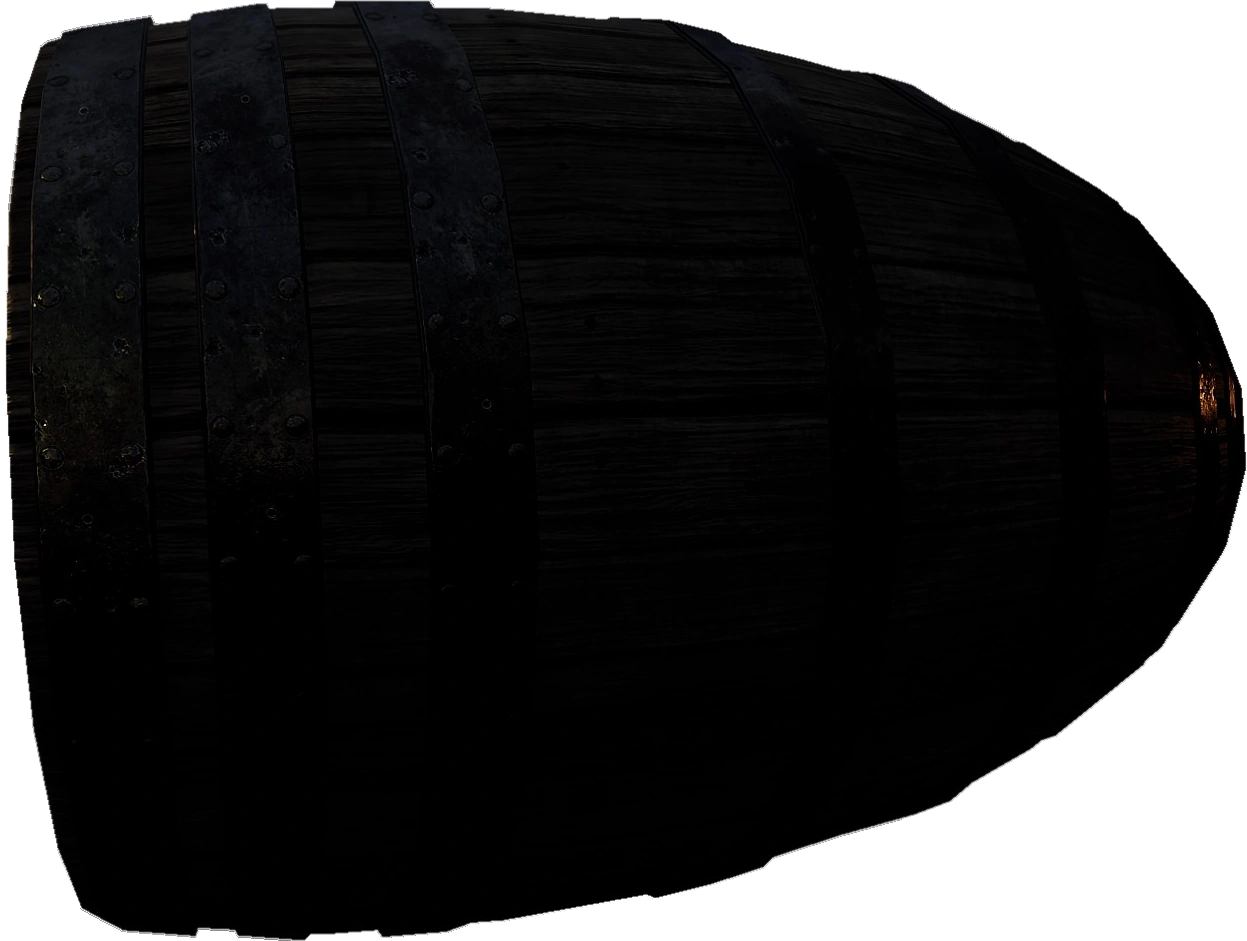
Barrels are found at various locations in missions and are helpful during Hordes.
| Image | Item | Effect | In Use |
|---|---|---|---|
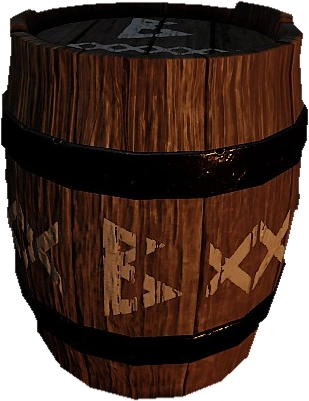
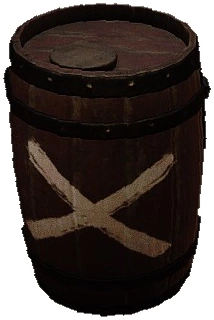 |
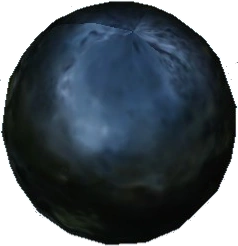
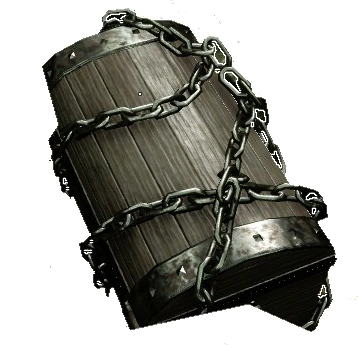
Explosive Barrel | Deals stagger and armor-piercing damage to all enemies in an area where it explodes. Enemies can block the explosion with shields. Explosion deals friendly fire at applicable Difficulties. Can be picked up, carried, and thrown. Hitting it or being hit while carrying it will light it, causing it to explode after 3 seconds. Hitting a lit barrel will cause it to explode immediately. Certain missions contain puzzles or objectives where the player must move certain Explosive Barrels to a certain spot in order to create a new path. Neither Lamp Oil nor Explosive Barrels carried from elsewhere in the map can be used as replacement for these puzzles. |  |
| Lamp Oil | Creates a large area of fire dealing damage over time. Fire deals friendly fire at all Difficulties. Can be picked up, carried, and thrown. Hitting it or being hit while carrying it will light, causing it to explode after 3 seconds. Hitting a lit barrel will cause it to explode immediately. Enemies will attempt to path around the fire. |  |
Obstacles[ | ]
Obstacles are often used to bar the path in various situations.
| Image | Name | Effect |
|---|---|---|
 |
Barricade | Appears on windows in The Pit. Needs to be kept repaired to block Enemies from entering. |
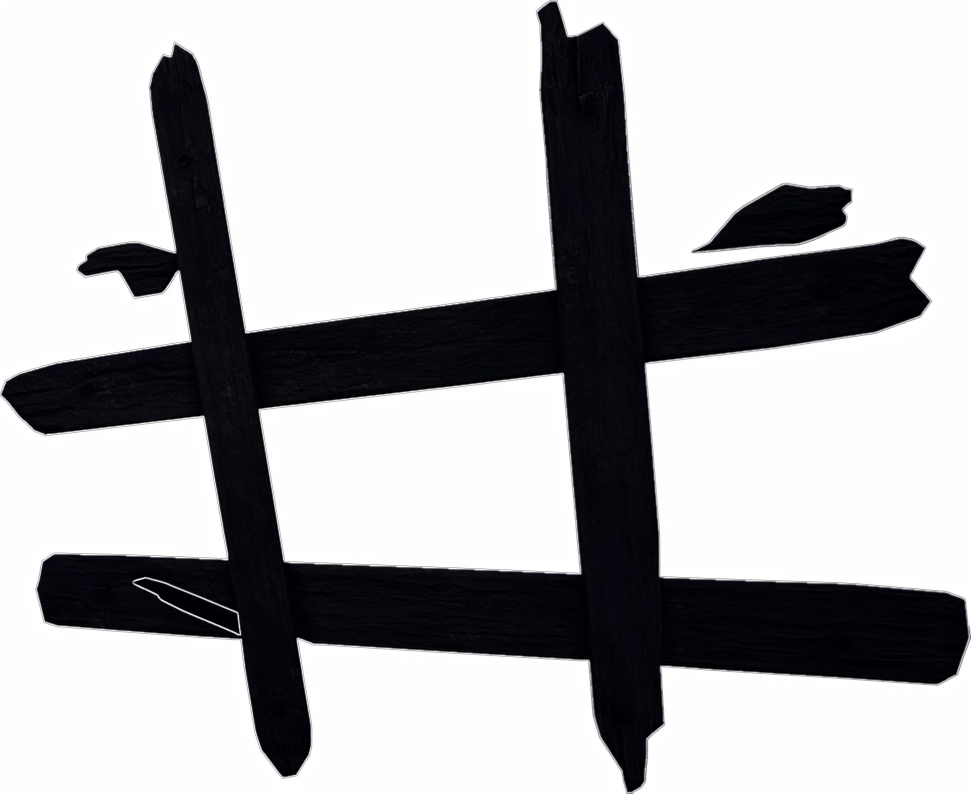
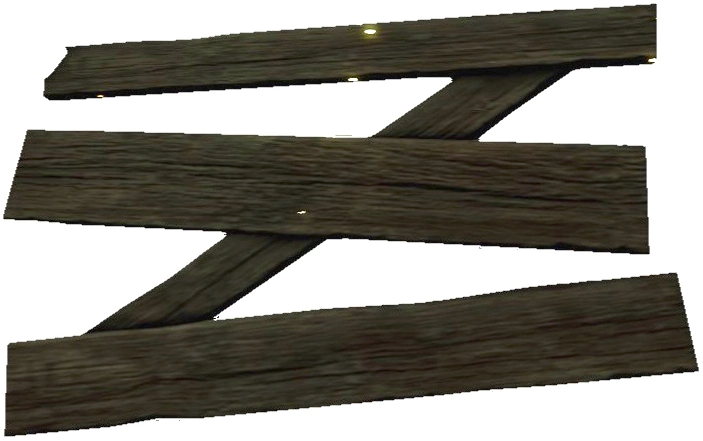 |
Boards | An interactive element that must be broken to move through. Although boards appear to bar the way on several maps, they can often just be walked around-- but it's fun to break things, isn't it? |
 |
Branches | An interactive element that must be broken to move through. Branches typically appear as mossy vines, hanging between trees or other surfaces. Attacks on them will break them, allowing passage. However, it appears that horde creatures (infantry and even elites) do not get this concept, and there are some cases where you can bunch the enemy behind a wall of these vines where they will just congregate, vulnerable to fire attacks or attacks from above. |
| Door | An interactive element for proceeding through doorways. Doors can be interacted with, or can be broken with range, melee Weapons or explosives. Doors will delay ingress/egress of Enemies but only very briefly. | |
| Gate | An interactive element for proceeding through doorways. Gates can be interacted with, or can be broken with range, melee weapons or explosives. Gates will delay ingress/egress of Enemies but only very briefly. | |
 |
Wine Tun | An interactive element on A Quiet Drink that must be rolled aside to move past. |
Objectives[ | ]
Objectives are integral to complete each mission.
| Image | Item | Effect/Use | In Use |
|---|---|---|---|
| Aethyr Crystal | An interactive element for the objective in Athel Yenlui. | ||
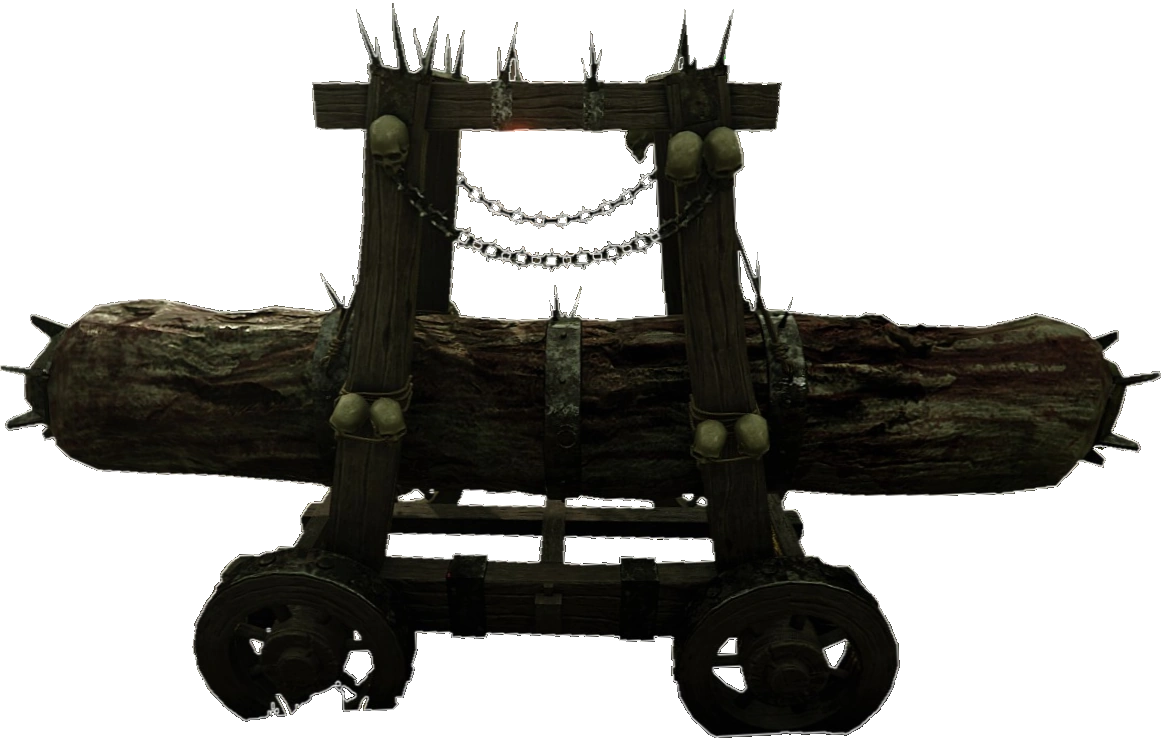 |
Battering Ram | An interactive element found in The War Camp. It has a pre-programmed path and can be moved forward simply by Heroes touching it. | |
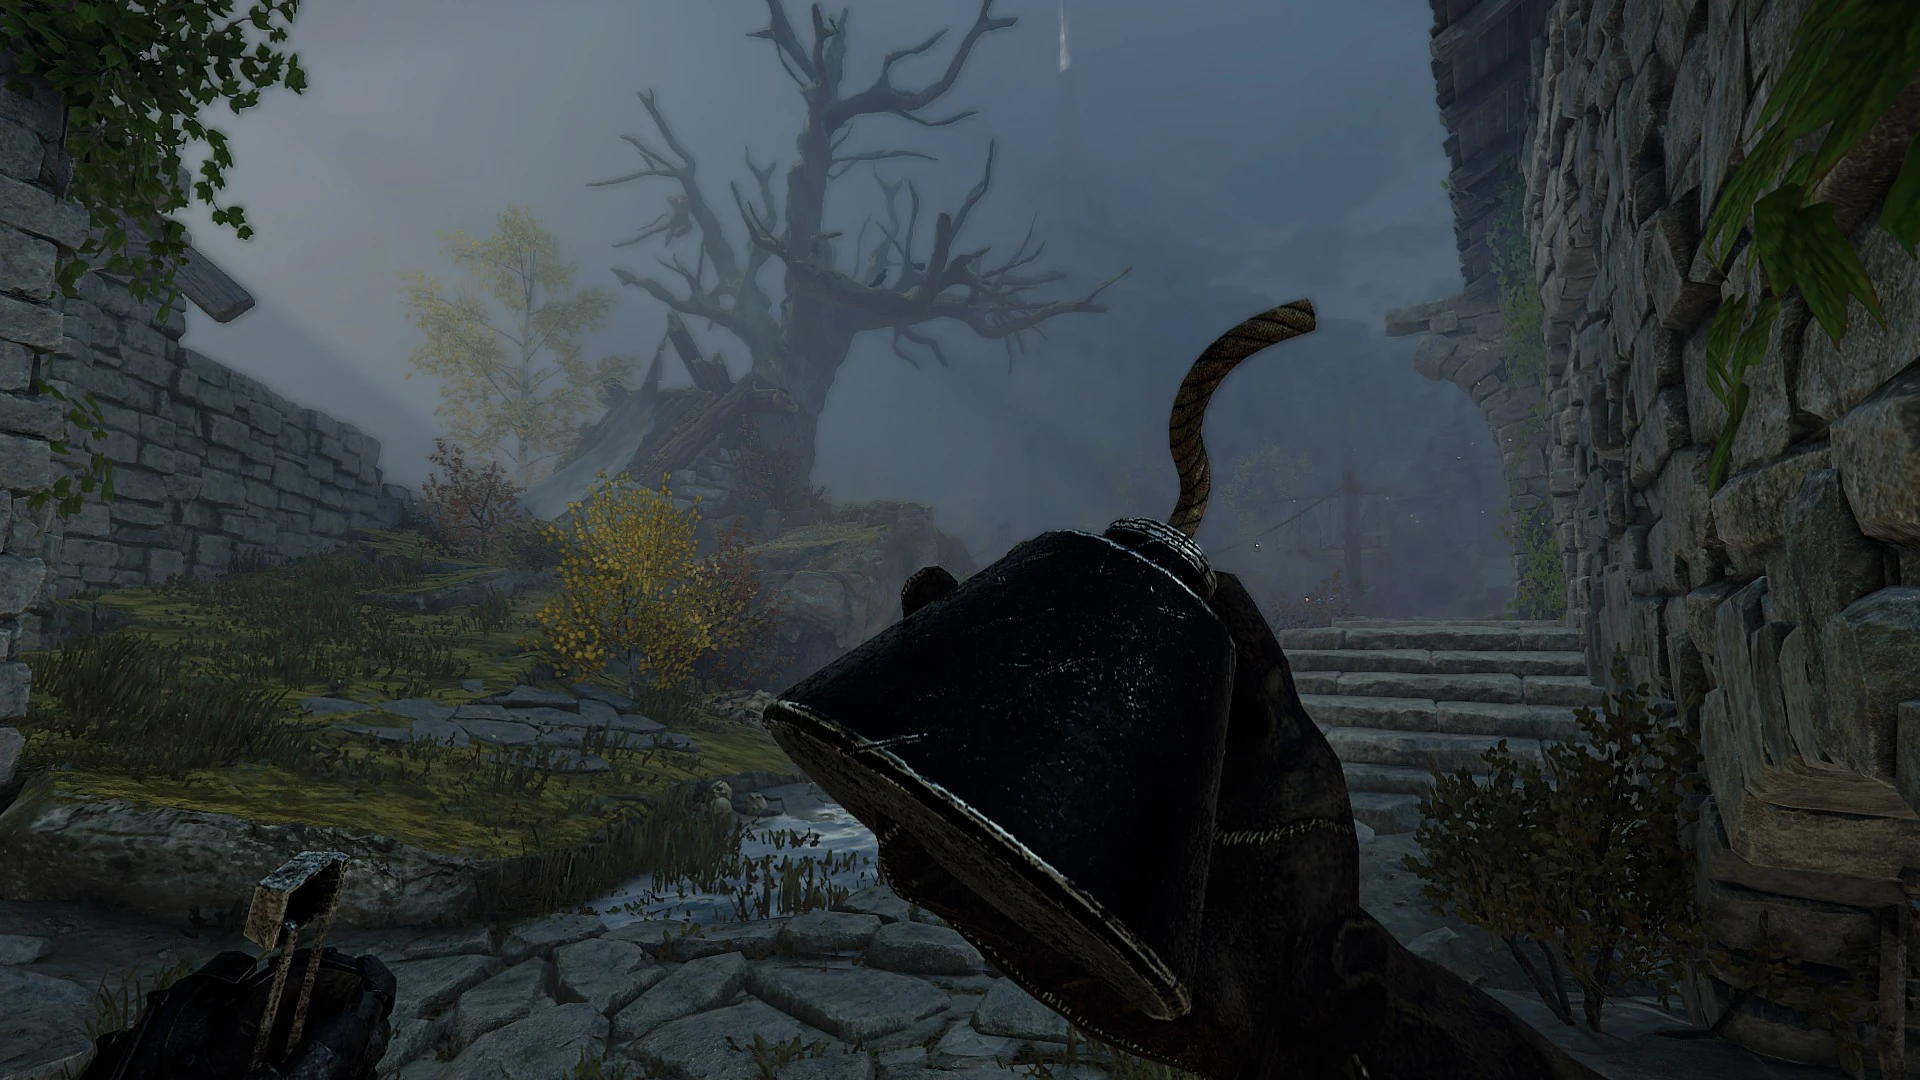
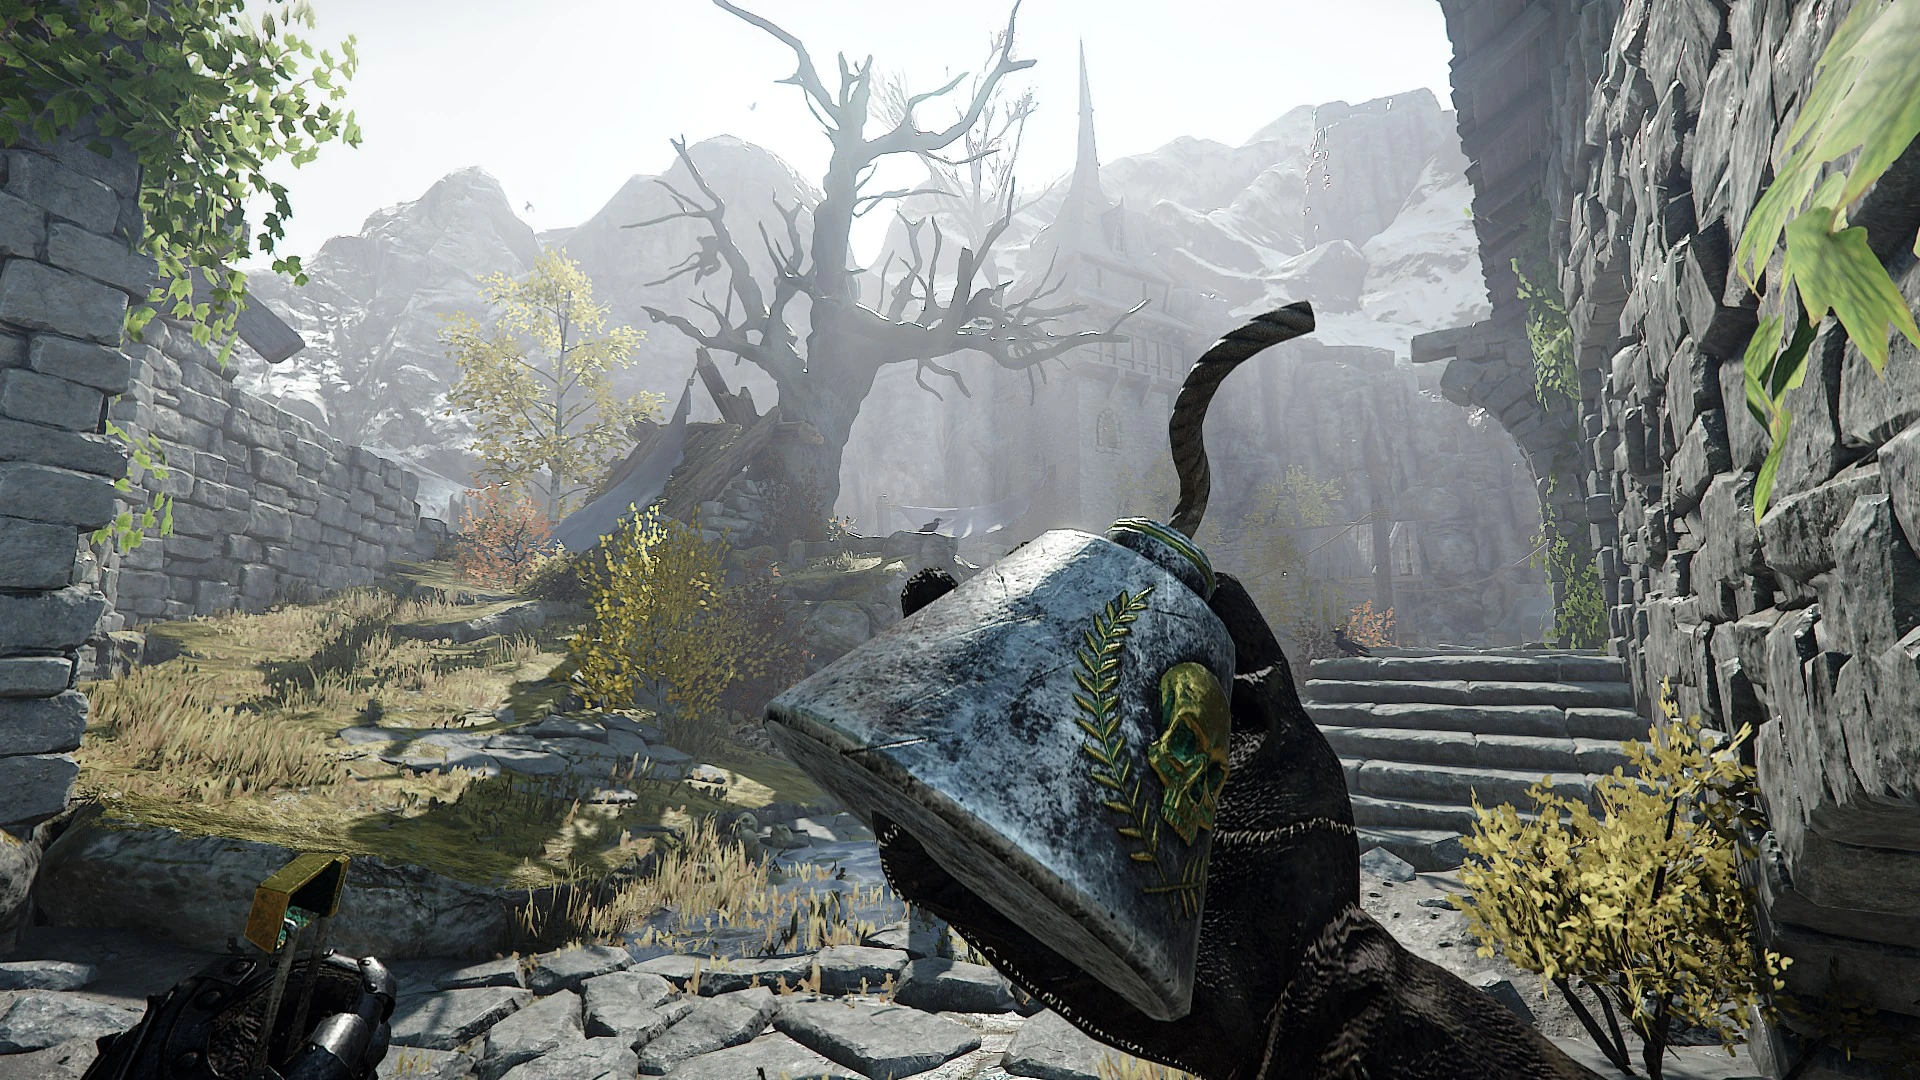
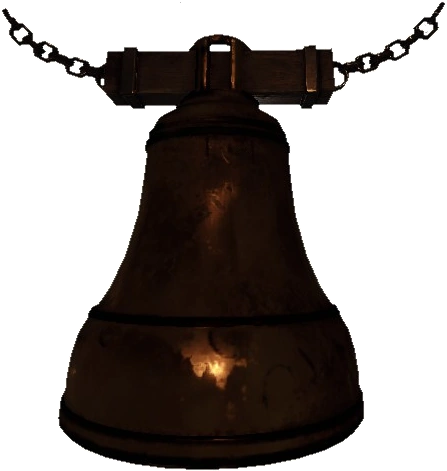 |
Bell | An interactive element for certain objectives. Bells appear in several maps, where they are often used to commence an end event (such as the end-of-level event). | |
| Blightreaper | An objective after the finale in The Blightreaper. | ||
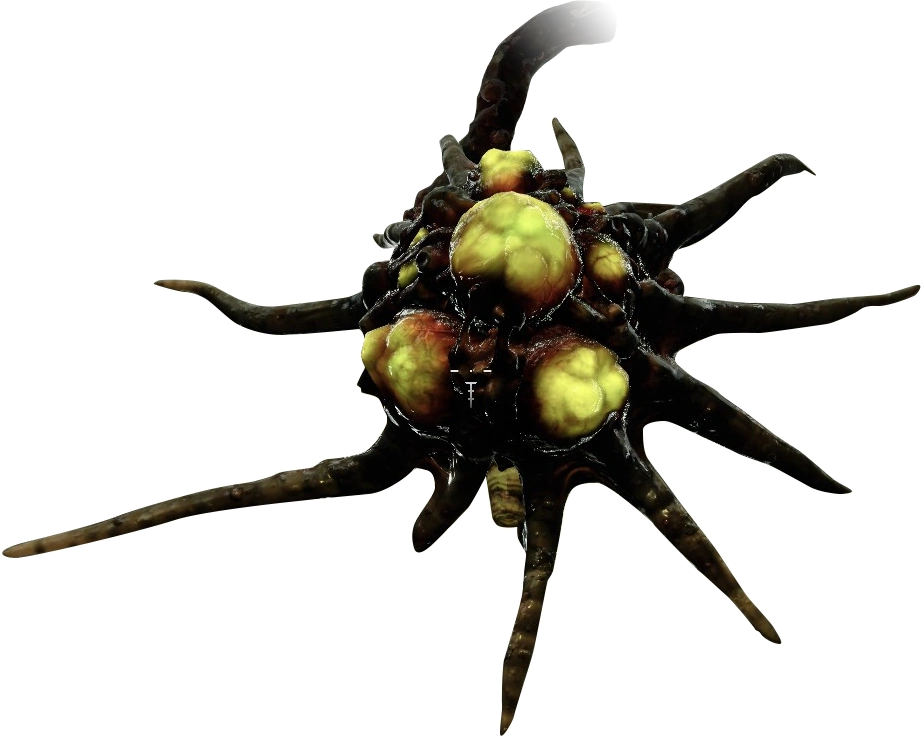 |
Buboes / Boils | A interactive Chaos element that must be destroyed for certain objectives and puzzles. These appear on three maps, though they're only integral on one of them. An exploding buboe sprays a fountain of acid that will linger on the ground (similar, or identical, to Bile Troll puke). | |
 |
Bugman's XXXXXX | Brewed by Josef Bugman and also known as Bugman's Brew or Bugman's Ale. Available in A Quiet Drink, but eventually more trouble than it's worth. | |
| Cages | An interactive element for certain objectives. In Against the Grain, freeing survivors that are locked in cages is the objective. No key is necessary as the cages are unlocked simply by interacting with them. | ||
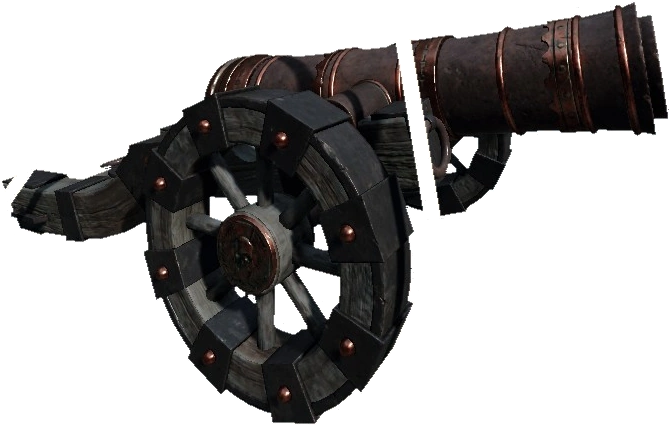 |
Cannon | An interactive element for certain objectives. Interactive cannons appear on two maps. In both cases, the cannon is required to progress the level. Cannons are only interactive in the sense that you must interact with them to trigger their pre-scripted behavior. They do not operate as free-form mounted weapons. | |
 |
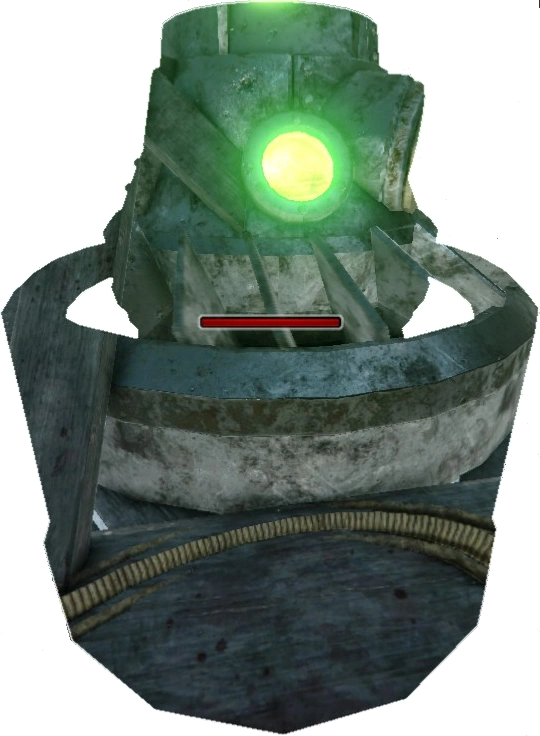
Cannonball | An interactive element on Fort Brachsenbrücke. The last shot to be fired from the cannon depends upon the retrieval of a Cannonball that will appear in a random spot on the Fort grounds once needed. It needs to be carried by a party member and follows the same rules as carrying other objects, except it can't be ignited. It can be thrown or dropped to injure enemies (and there is a Challenge for this), but its ultimate destination is by the cannon in the fort, which triggers the exit Portal. The ball can also cause collision damage to yourself and teammates, so be mindful when throwing. |  |
 |
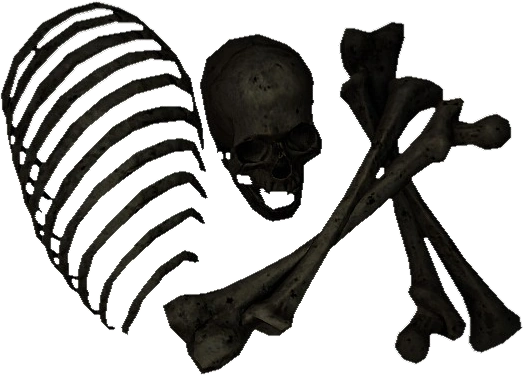
Chains | An interactive element for certain objectives. Can be broken. Chains appear on two missions, and in both cases, must be broken using melee attacks in order to advance mission objectives. Health bars may indicate the health of the chain (as in the Garden of Morr). | |
| Crude Weapon | Found embedded in a Rat Ogre's corpse on Dark Omens. Removal heralds the start of an ambush. | ||
 |
Door Knocker | Found on a door in The Enchanter's Lair. See if anyone's home... | |
 |
Map | Found behind a bookcase below the Temple Nave in Old Haunts. | |
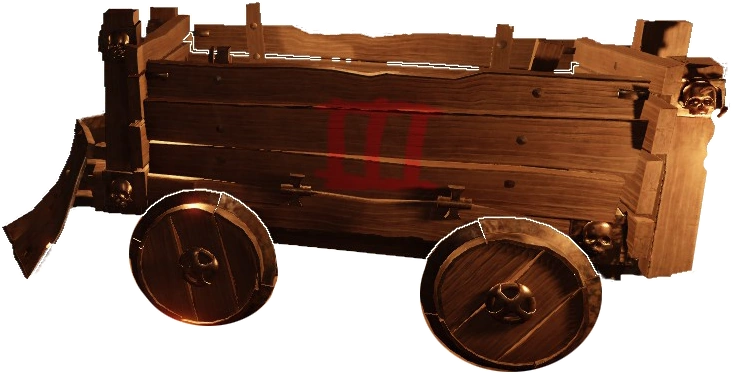 |
Minecart | An interactive element for certain objectives. Carts appear on two maps and, in both cases, are used to transport Explosive Barrels. Minecarts have a completely pre-programmed path, whether on rails or not, and can be moved forward simply by characters touching them-- actual pushing isn't necessary, and the speed is deterministic. Minecarts that are speeding down slopes can injure or kill enemies. | |
 |
Porticullis (chain) | An interactive element for certain objectives. Appears on at least three maps and accompanies a Horde of enemies while it winds. | |
| Skittergate Keystaff | An object required to progress through the Skittergate. Like Keys, it does not matter which player picks up the Keystaff. Any player may activate the Skittergate once a party member has grabbed the Keystaff. | ||
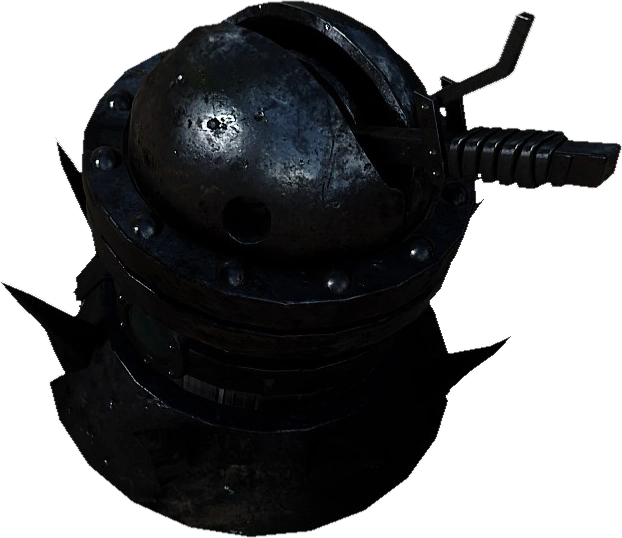
 |
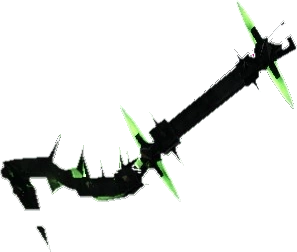
Skull of Blosphoros | Used in the Geheimnisnacht 2021 Special Event. |  |
 |
Statue | Used in the Weekly Event, Special Delivery, where players need to carry the statue to the Bridge of Shadows. If left unattended it will slowly start shining and eventually detonate, failing the mission. |  |
 |
Warp
Generators |
An interactive element for the objective in The Skittergate. | |
Puzzle Objects[ | ]
Puzzle objects are used to provide access to Tomes & Grimoires or as part of Okri's Challenges.
| Image | Name | Effect | In Use |
|---|---|---|---|
| Cameo | Hidden item in Dark Omens. Required for Keepsake. | ||
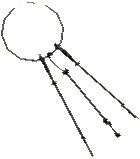
| Candle | An interactive element for certain puzzles. | ||
 |
Cog | Randomly found on various spots in Taal's Horn Keep. Required for Come to Bardin ... | |
| Doorlock | An interactive element for opening locked doors. Only accessible from one side. | ||
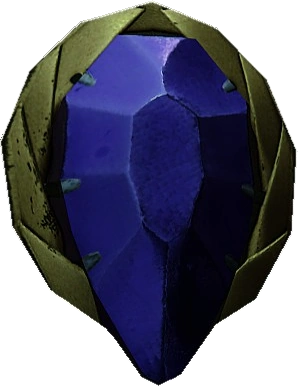 |
Dragonbane Gem | Hidden item in Engines of War. Required for Shiny! | |
| Flask of Wayward Souls | An interactive element found in The Enchanter's Lair. Required for Extremely Wayward. | ||
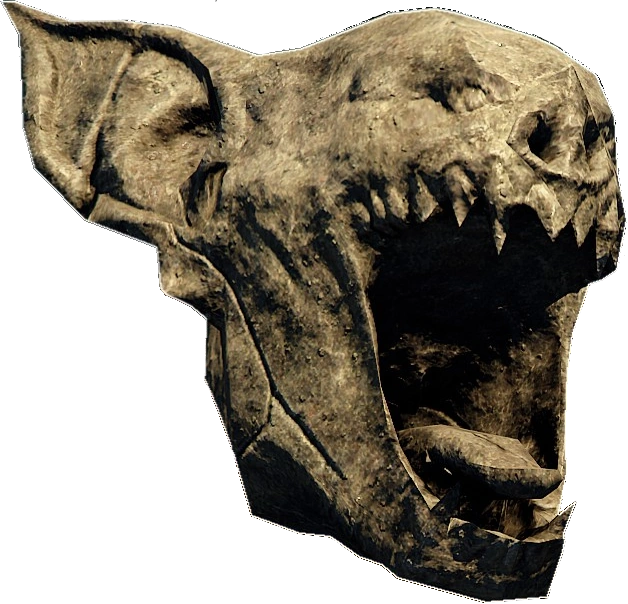 |
Gargoyle Head | Used as a Puzzle Object in Garden of Morr. Four also appear in Blood in the Darkness during the Finale. |  |
 |
Grandmother Zingler's Bones | Hidden item on Garden of Morr. Required for Last Respects. | |
 |
Grindstone | An interactive element with an unknown purpose. | |
| Gutter Runner's Secret Stash | Hidden Object found on The Horn of Magnus. Required for Pouch Pilferer. | ||
 |
Key | Used to unlock certain locked elements. Most-typically, keys are used to unlock chests that contain Grimoires. It does not matter which player picks up a key. Once any one member has the key, any other player may unlock the related door or chest. | |
 |
Locked Chest | An interactive element for certain puzzles. Used in conjunction with Key. | |
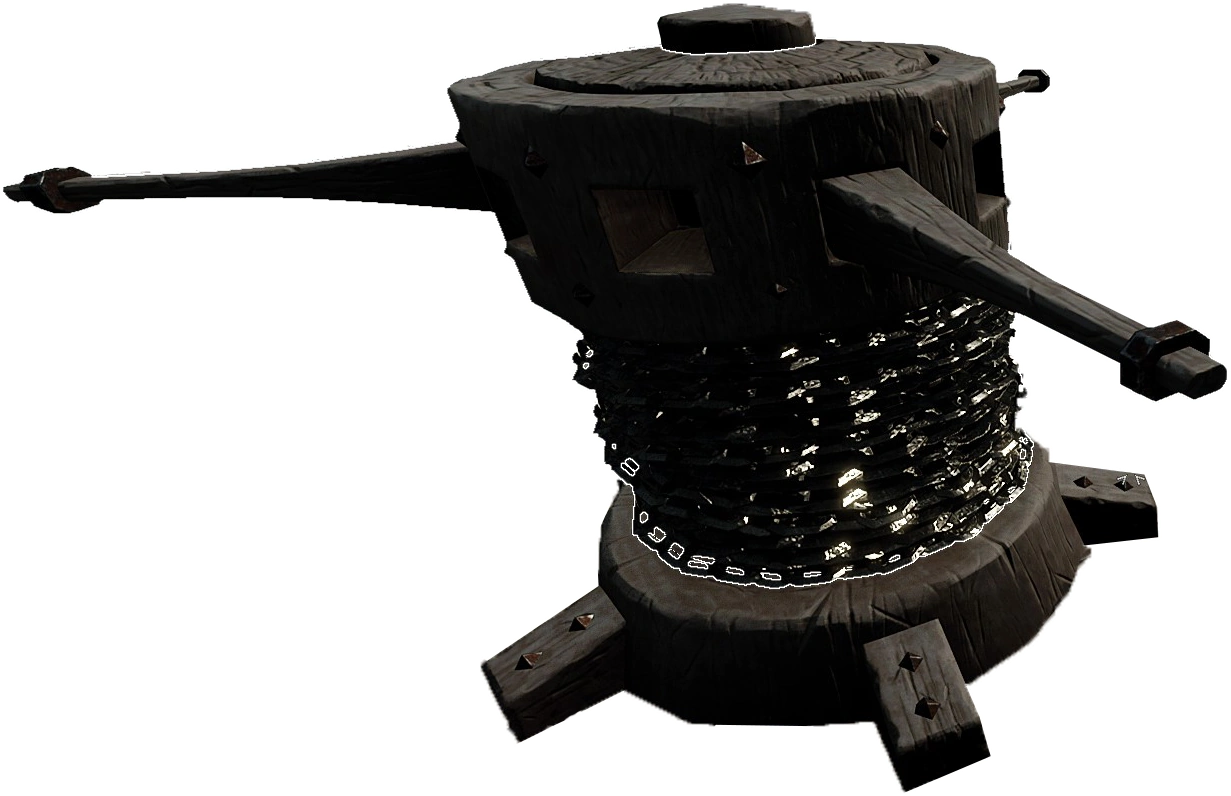
 |
Lever | An interactive element for certain objectives. Levers have many shapes and sizes, and some may be hidden from view behind other objects. | |
| Loose Book | An interactive element for certain puzzles. Loose Books highlight in the environment like other objects. | ||
 |
Skaven Tech | An interactive element found in Old Haunts. Required for Stop Touching Things! | |
 |
Suspicious Brick | An interactive element for certain puzzles. Suspicious Bricks highlight in the environment like other objects. | |
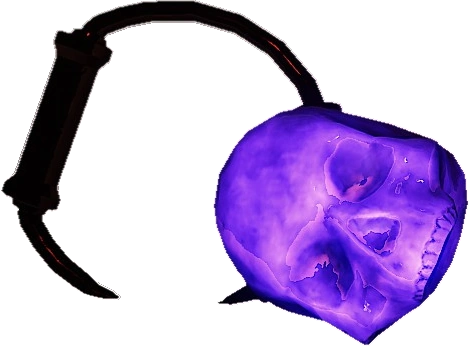
| Skull | An interactive element found in Blood in the Darkness. Required for A Fellow of Infinite Jest | ||
 |
Skull of Eisenfaust | An interactive element found in The Enchanter's Lair. Required for Alas Poor Eisenfaust. | |
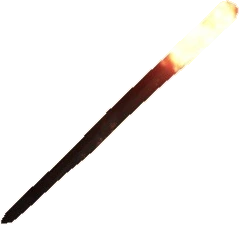 |
Torch | Used to illuminate areas affected by darkness or to light fires. |  |
 |
Unique Painting | Found in the locked chest in Dark Omens when completing Dark Tongue III. | |