| General | Book Locations | Map | Strategy | Okri's Challenges |
As this is a Shadows over Bögenhafen mission, the challenges used to reward a Bögenhafen Strongbox. With the addition of Lohner's Emporium of Wonders however, they have all been replaced with Commendation Chests instead.
ONE MORE FOR THE ROAD?[ | ]
Gather all 20 bottles of Ruggbroder 2468 Vintage in one game on The Blightreaper
This challenge spans the entire Mission, with the first bottles to be found in the sewers and the last in the temple itself.
- In the sewers, at the first intersection with three braziers, turn right and the first bottle is behind three barrels in an alcove to the right of the brazier.
- Go back to the intersection and take the left path. The second bottle is at the dead end with the chest behind a broken bookshelf just past the brazier.
- The third bottle is behind some rubble, on the right side of the pit with the wooden plank bridge above.
- The fourth bottle is immediately after exiting the sewers, drop down from the stairs and head to the far end of the jetty, it's behind the post on the left.
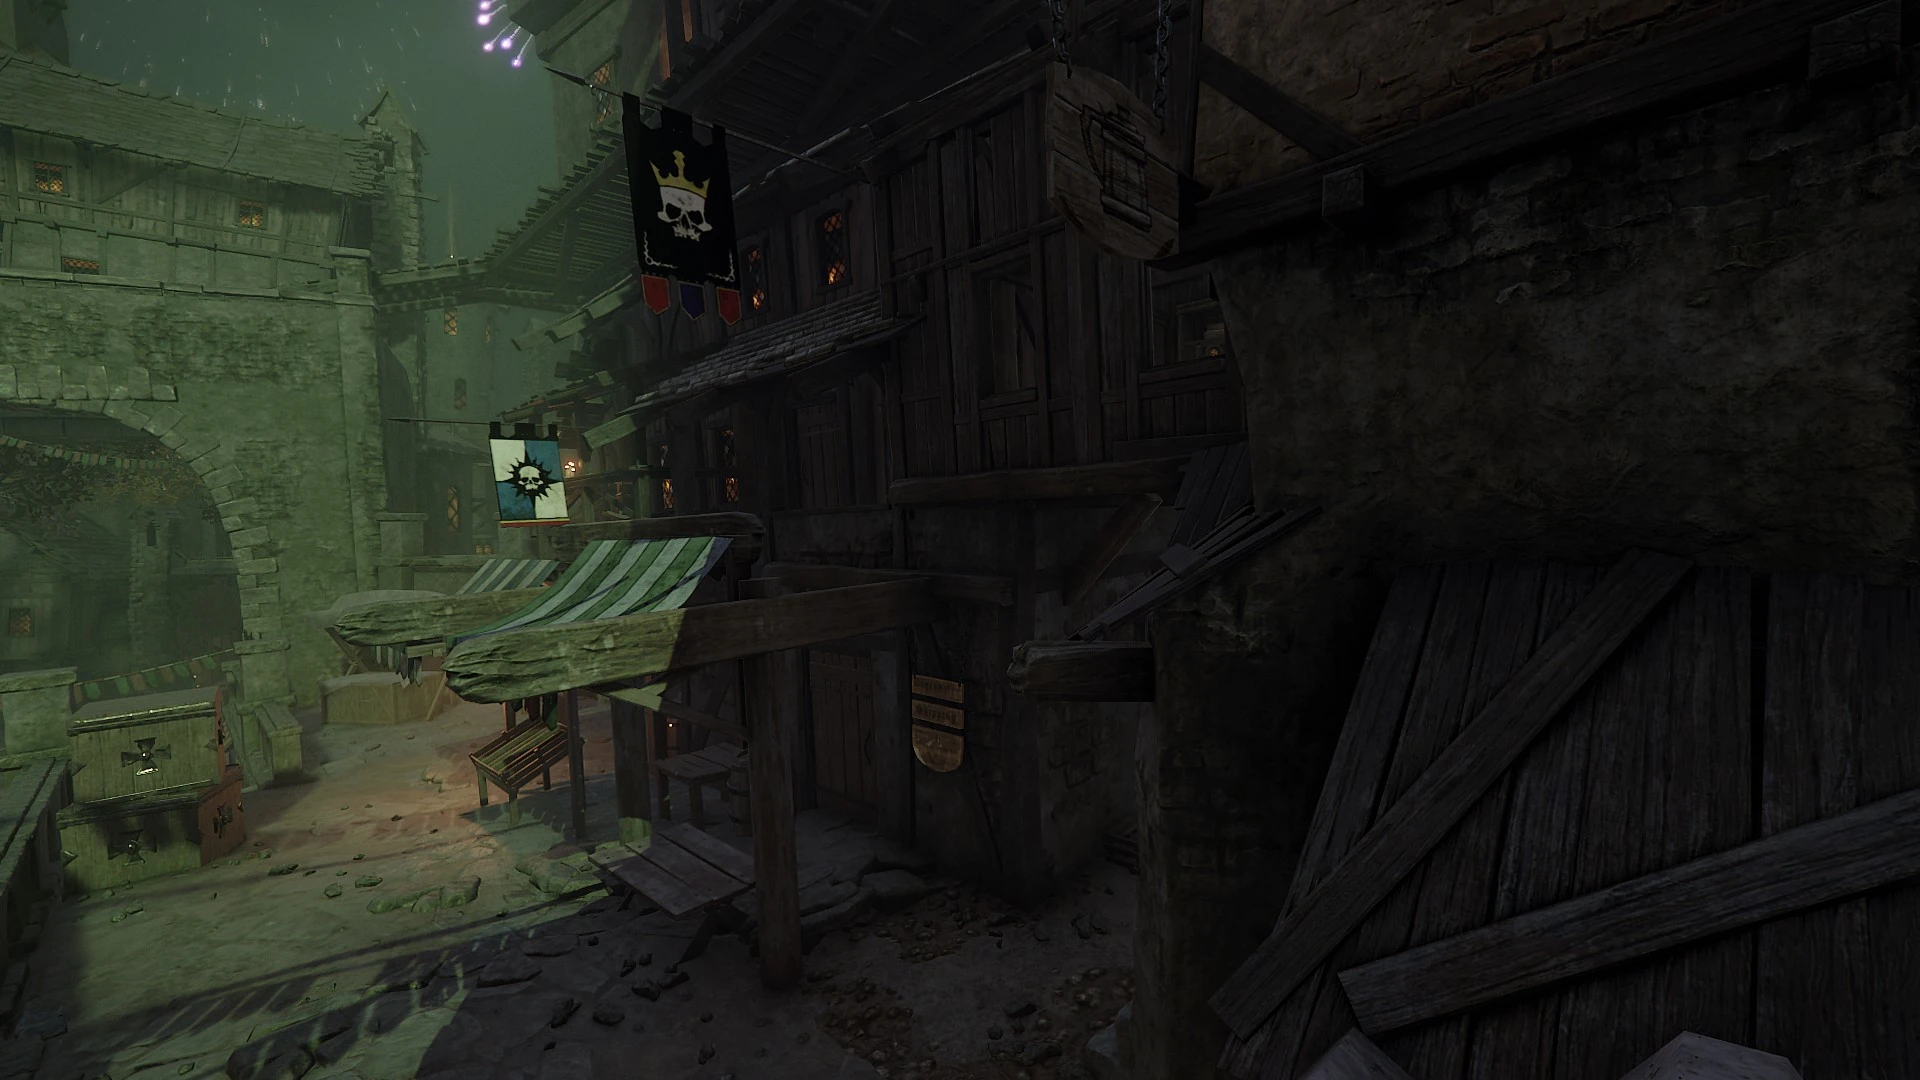
- In the Biergarten, keep to the right after the drop heading past the tree, and there's a bottle on the floor beside one of the tables at the far wall.
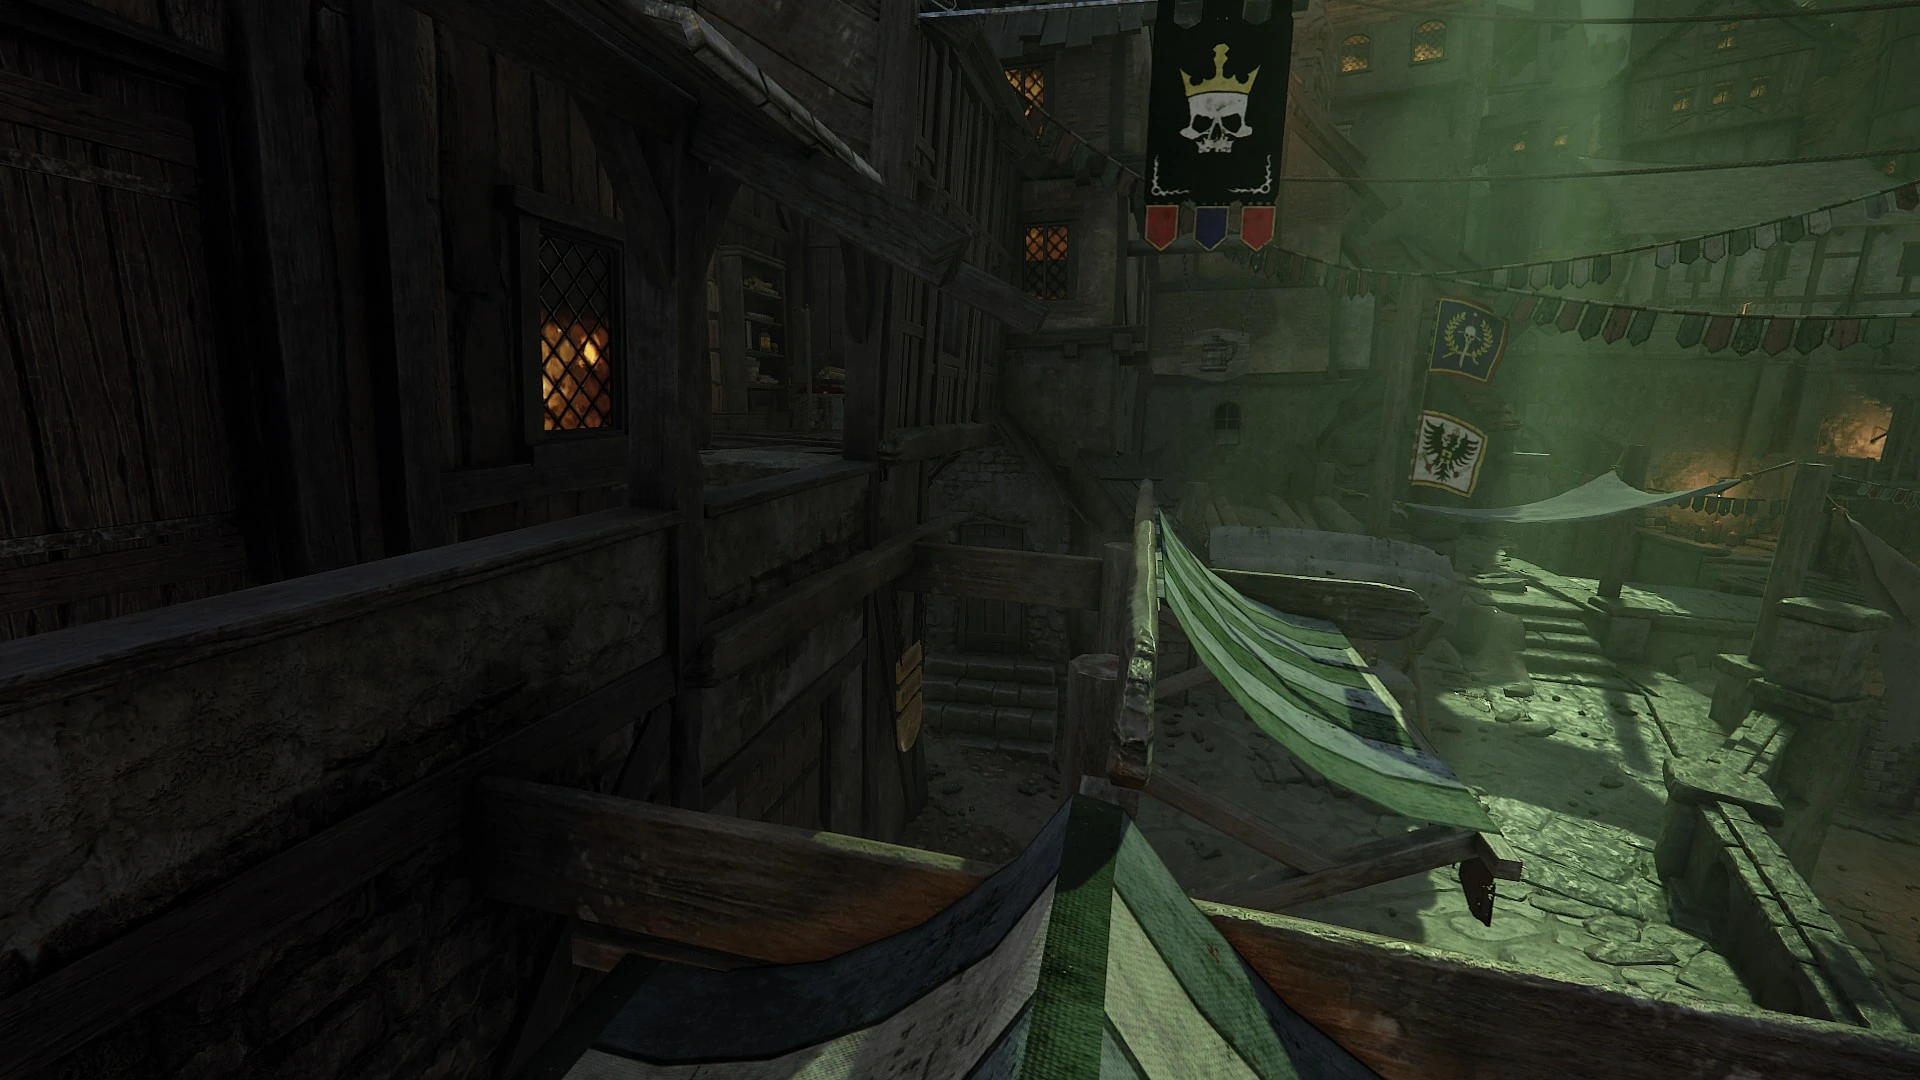
- Follow this wall onward under an archway. The next bottle is behind a stall there.
- Turn left, cross the Rosen Allee and head up the stairs immediately in front of you. On the left side of this raised street is an alleyway, the next bottle is behind a plate at the end of the alley on the left.
- Head back out, drop down and head through the archway on the opposite side of the street. The next bottle is in the Hafen Strasse Fischmarkt, in a spilled barrel of fish.
- Head back to the main street. The last bottle in this area is at the end on the lower level, by the dead end gate. It's to the left, behind some stacked crates.
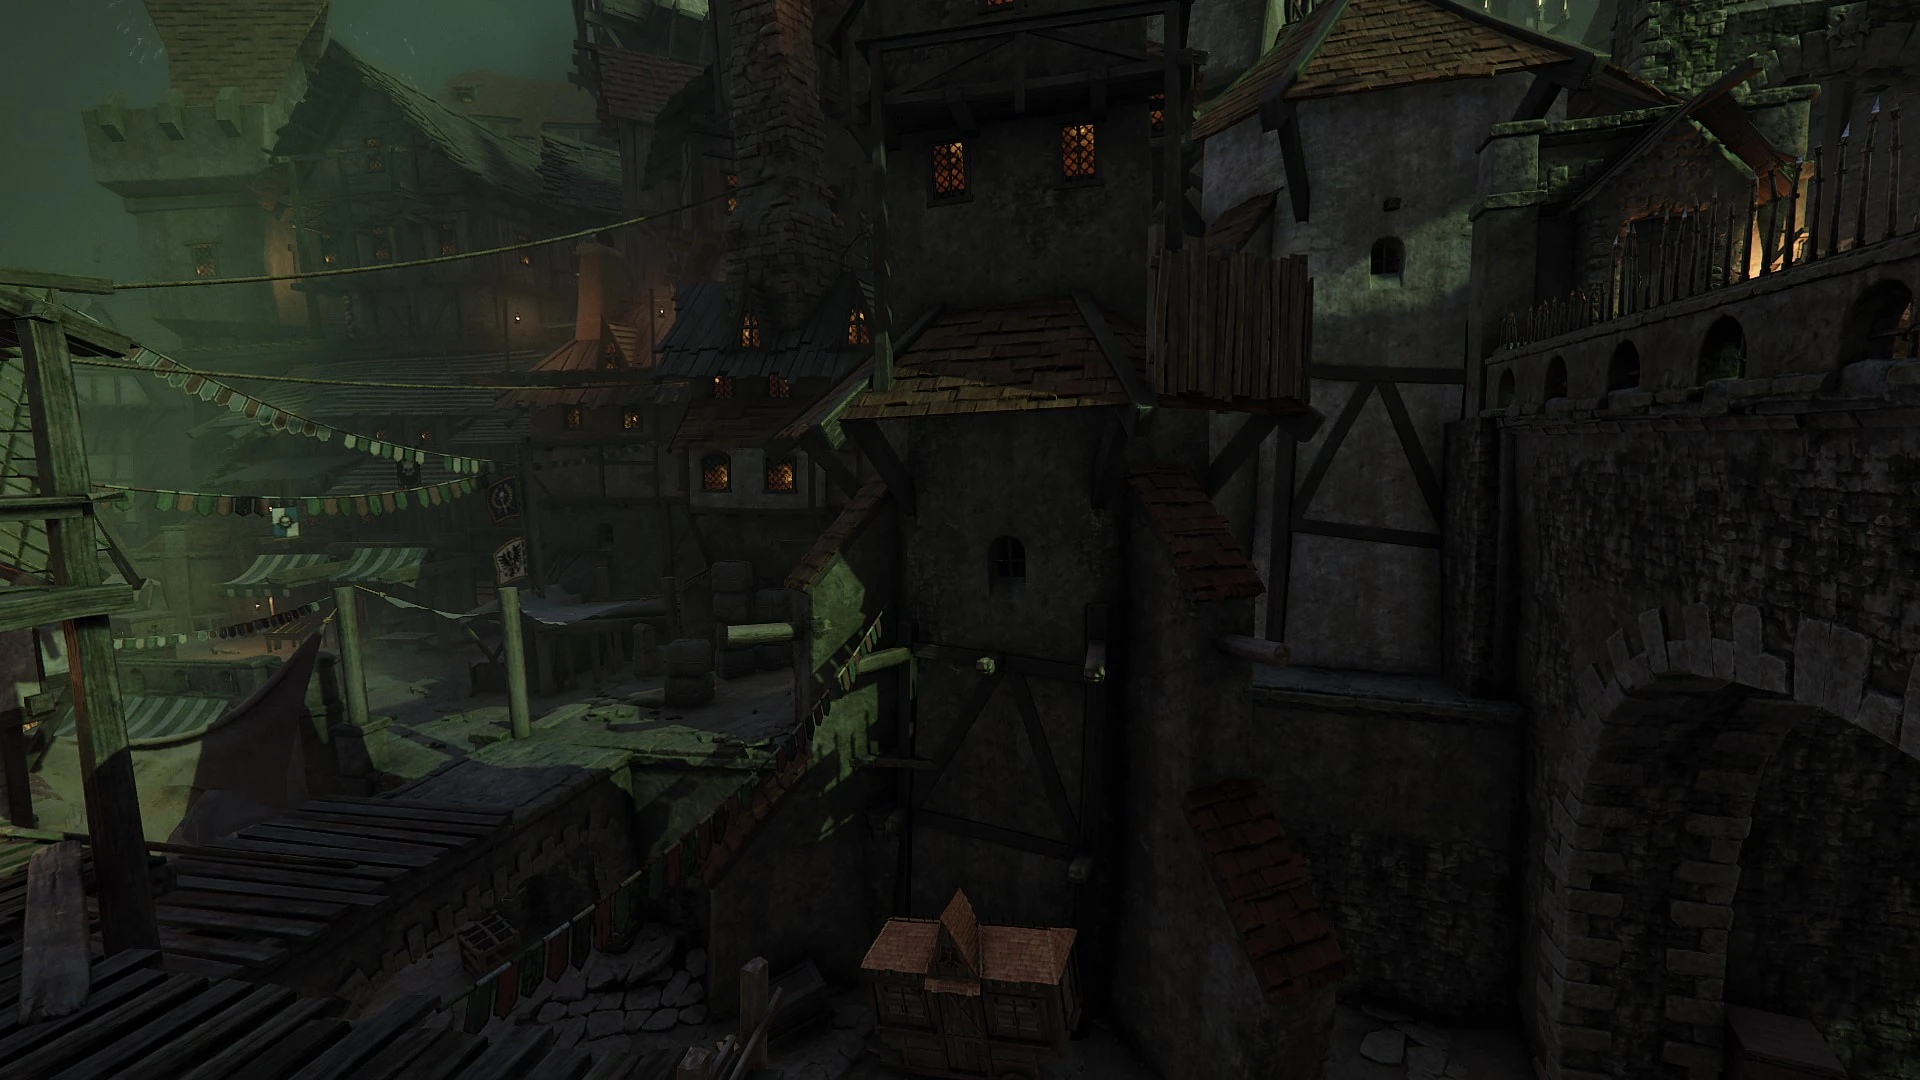
- Follow the level as normal until you drop down into Dreicke Platz. Hug the right wall, and head up the steps. Take an immediate right down a side alley, and follow this to the end. There's a bottle hidden behind two bookcases.
- Head back to the main path as far as the Bögenauer Steps. After passing through an archway, turn left before the next set of steps. The bottle is in a wine crate at the end here.
- Head back and up that next set of steps, then immediately turn left and follow the wooden walkway into the Artisan Quarter. Once you head up some more steps and are back onto stone ground, take an immediate left up some small stairs. Follow this pathway around and over a drop, you will find the next bottle in a side room to the right immediately afterwards, hidden behind furniture as usual.
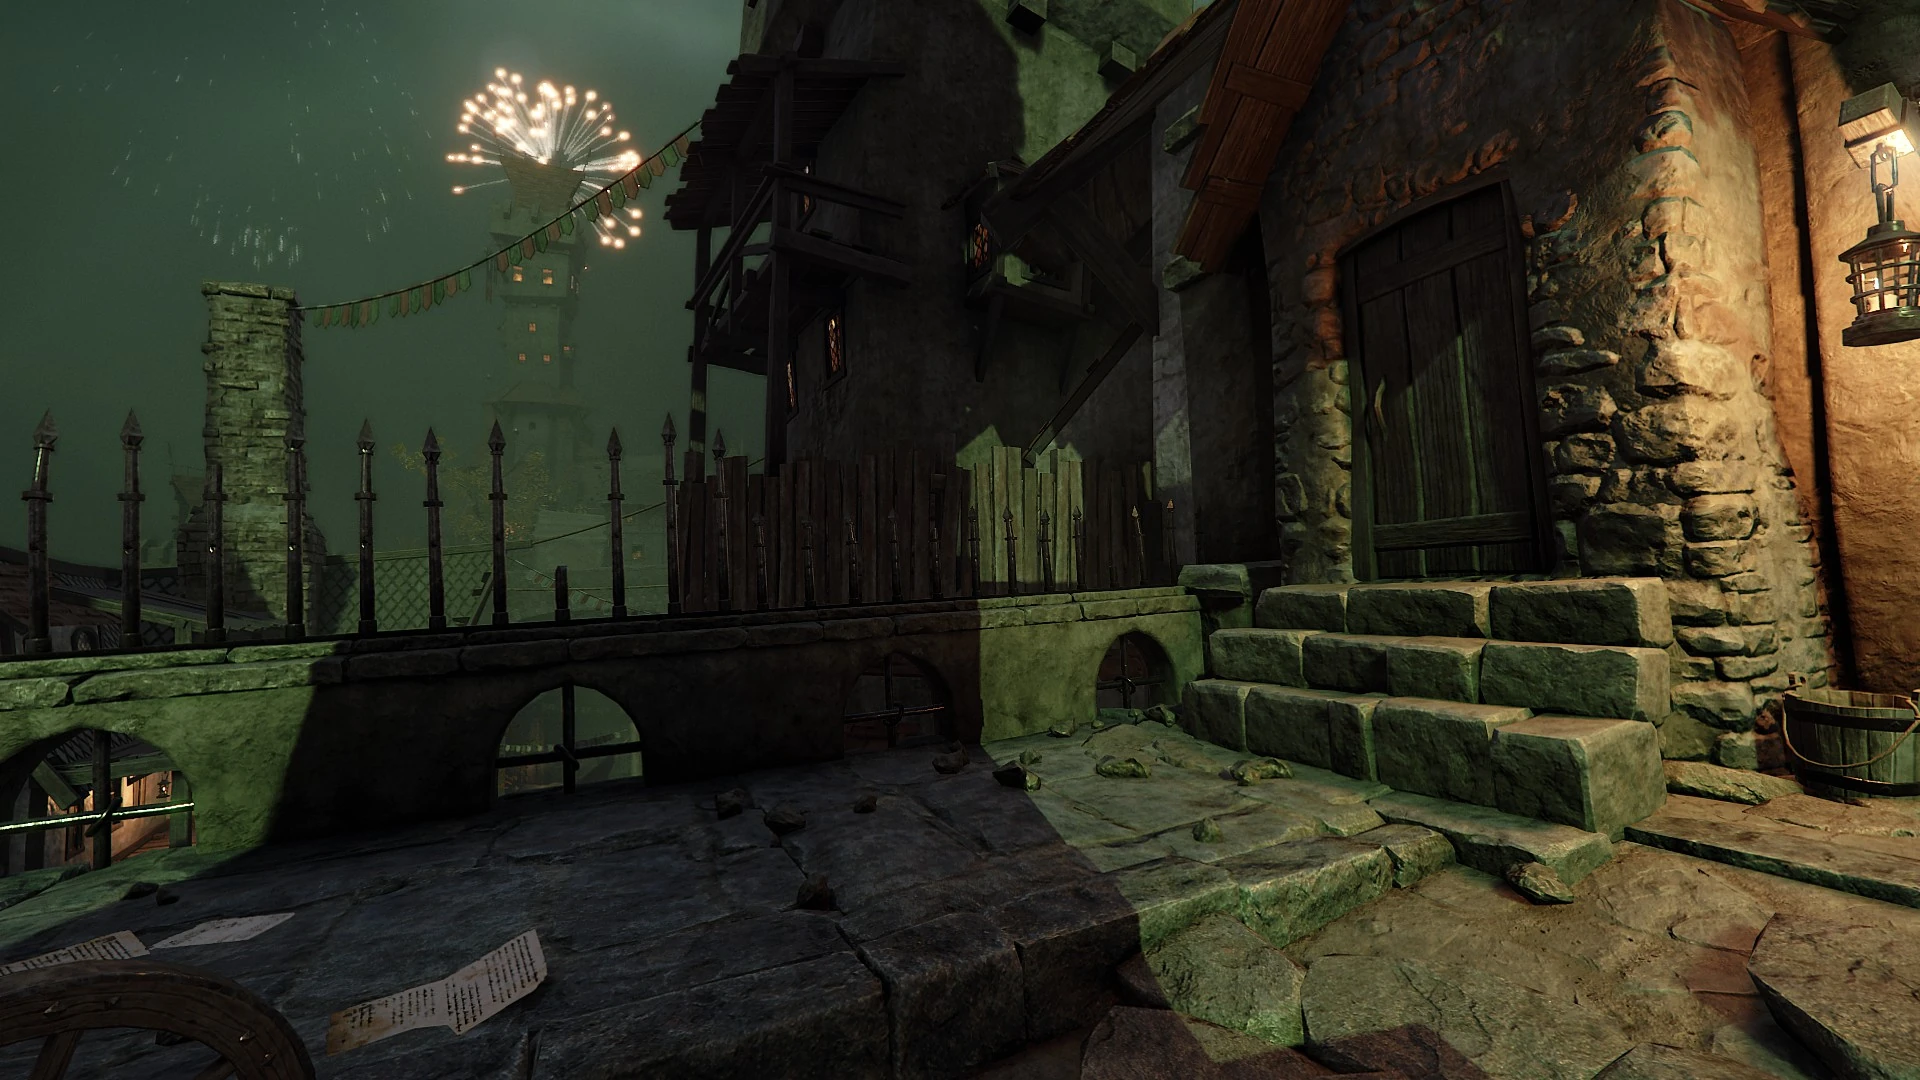
- Proceed with the level normally until you reach the temple gate. Head left from the temple gate, up a set of stairs, then keep left, and up another set of stairs. Turn right and curve round through Ulrichsgasse to Myrmidia Terrace. The bottle is on a balcony to the right of the next stairs, in a wine crate.
- Head up those stairs and keep right, until you can slip between two houses on the right. Curve right again around the house and the bottle is at the dead end here, on the ground behind a wine crate.
- Follow this pathway down some stairs and down into a slightly flooded underground area. The next bottle is high up on the top shelf of a bookcase on the right at the end of this section (you may have to jump if you're playing as Bardin).
- Head onward out of this section and up another set of stairs, keeping right; again ignoring the further stairs and ladder. Cross into Kaufman Strasse. The bottle is in a wine crate on the right of the puddle-filled close.
- Take the exit on the right at the end of the courtyard, past the two pigs. The next bottle is behind some crates at the dead end, on the left.
- Head back to the close and out the other exit, then turn left and head up the small incline. This brings you back to Ulricsgasse. Up the stairs ahead of you again, but turn left this time. Follow the path and right up the stairs, then dead ahead toward the fence immediately in front of you. The last bottle before the temple is behind a clay jug here, on the ground on the right.
- Head into the temple as normal and drop down into the event area for the final two bottles, but don't pull the switch to trigger the event just yet. As soon as you make the drop, turn left and down the stairs, there is a bottle hidden on the far side of a bookshelf to the left here.
- Head across to the opposite side of the temple, climb up the fallen plank and over a bookcase onto the first floor. Climb the ladder in front of you, and the final bottle is on the bookshelf here at the end on the right.
INSURANCE PREMIUM[ | ]
In The Blightreaper, find and reimburse the Bögenhafen Shipping Company for damaged property
Find and interact with the property ledger inside the Stevedore's Guild.
This is located above the upper part of Rosen Allee on the way to the Dreicke Platz after leaving the sewer, and will require some difficult platforming to reach (although most of this can be skipped by using the Slayer's leap). Be careful doing this with bots, as you can be grabbed by Assassins during the platforming sections and they will not help you. They also have a tendency to attempt some of the jump sequence and miss, immediately being Downed by the fall damage (which can be significant and will also happen to you if you fail the higher jumps, particularly the first one).
Before dropping down to the Dreicke Platz, turn left on the bridge and jump onto the wall, then onto the railings.
Look down to your left here, there should be a wooden pole jutting out of the edge of the building opposite. Carefully jump down to it, then hop across a series of poles curving around the edge of the building.
Make a long jump from the final pole to a pair of stacked crates in the middle of the street, then onto the stone awning across from it.
From here, you want to hop up onto the buttress on the right, with the pub sign above it. This can be difficult as the pub sign can knock you down mid-jump, so shooting the sign to make it swing and then timing your jump can help.
From here, jump across onto the wooden covered awning above some stalls.
To the right of here is a balcony you can hop onto which leads to the Stevedore's Guild and the ledger, just interact with it to dump a few gold pieces and complete the challenge.
As the Slayer, you can skip almost all of this from the upper level to the left of Rosen Allee. Simply jump onto the stone railing, and onto two stacked crates. From there use the leap to land on top of the awning, then hop straight onto the Stevedore's Guild balcony beside you.

JOURNEY IN THE DARK[ | ]
Legend: Navigate the sewers in The Blightreaper without lighting a single brazier
Requires a degree of familiarity with the map. Not recommended to attempt this in the same game as the next challenge, for obvious reasons. Worth noting that both the Ironbreaker and Sienna Fuegonasus can light up the area around them with fire in a pinch.
ME? I THOUGHT YOU HAD IT?[ | ]
Legend: Navigate the sewers in The Blightreaper without picking up a torch
Very similar to the above challenge. Requires nobody in the party to pick up a Torch at any point. These two challenges are both party challenges and therefore require everyone to complete them at once for them to count. Simply letting someone else carry the torch or light the braziers does not count. Everybody in the party must avoid doing these things.
FAST FLIPPER[ | ]
Legend: Leave no hidden switch unturned for longer than 3 seconds in The Blightreaper end event
Very difficult with fewer than 4 players. The switches are in the same 5 set locations found in the images below, but the order in which they become active is random. Position players where they are able to reach two switches rapidly. Each player must be using a loadout capable of independently handling Hordes. There are also elite spawns during the event (often Stormvermin and Plague Monks) but these generally come late enough that the players who have flipped the switch(es) they are responsible for can move to aid the others who have not.


